How to make your GitHub profile stand out and look awesome

I recently ran across a tutorial that showed how to make your main GitHub page stand out and look awesome, and pull in automated feeds to populate things like:
- Latest YouTube Videos
- Latest Blog posts
- Whatever other feed you want!
I was looking for a tutorial like this, because I’ve been seeing a number of different GitHub profiles lately from Cybr members, and I wanted to be able to point them to helpful resources that show how to implement changes that I’m talking about.
In this post, we’ll take a look at basic modifications and ways of cleaning up your GitHub profile to stand out from the crowd, but if you’re looking for ways of creating automated feeds from the tutorial I was talking about, check it out here.
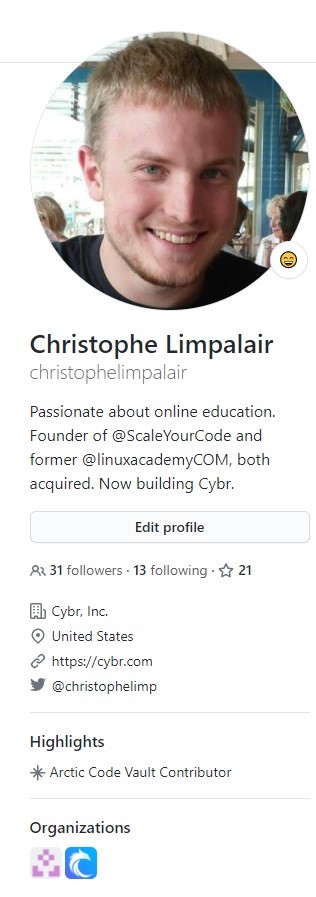
After reading this blog post, you’ll end up with something like this:

I probably should have updated my profile picture to be more recent, though 😆, but you get the idea!
Clean up your repositories
First things first, we need to make sure you’ve got clean repositories. I was recently working with a Cybr member who was combining all of their projects in one repository. While I can totally understand where they were coming from in terms of organization, there were a few major problems with that approach:
- It combines version control for multiple projects into one repo
- It makes it look like you have fewer projects than you really do
Clean version control = sane developers
Unless you have a very good reason to combine different projects into one repository — chances are that you will want to keep their version control in entirely different silos.
That way, as you’re working on one project, the branches and versioning don’t get tangled with your other projects.
This may not seem like a big deal initially when the projects are small, when you’re the only person working on those projects, or when you’re working on them day-to-day. But as soon as the projects get a bit more advanced, you introduce a new contributor, or you step away for a few months and come back, things will get tangled really quickly.
So reason #1 to keep repositories separate is to keep developers sane and happy!
Showcase your projects!
Reason #2 to keep repositories separate is because otherwise it will look like you have fewer projects than you really do. Unless a repo catches someone’s eye right away, they will likely just scroll through to find relevant projects — especially if they are hiring managers considering you for an open position.
By having a clean list of repositories in your GitHub account, you make it easy for them to see what kinds of projects you’ve been spending time on.
At a quick glance, they can:
- See which ones you’re actively contributing to
- See which projects are relevant to the position you’re applying for
- See what kinds of projects interest you
And they can then dive deeper into the projects that catches their eye the most, if they want to.
If that project was buried down in another repository, they may not have seen all that great work.
For example, when looking at my list of repositories, you see a number of different respos instead of just one or two, and they all have clear separation. Honestly, I could probably do a better job with the repository descriptions, too.
That’s another point to keep in mind, by the way! Make sure your repos have descriptions.

Profile details
Once you’ve got your repositories taken care of, it’s time to take a look at your profile details. I’m talking about the details on the left-hand side of the screen:
Some people purposefully leave this section either blank or very vague, probably because they get bombarded with sales and marketing emails, and trust me I get it! But, if you’re trying to get a job or you’re trying to expand your network, make it easy for people to reach you and understand who you are!
When I founded Scale Your Code a few years ago (a technical podcast that interviewed IT experts), unless I really wanted to have someone on the show, if they didn’t make it easy for me to reach them, or if they didn’t have much to go off of online, I’d usually move on to looking for someone else to interview.
It’s much easier to create an interesting podcast episode when someone shares blog posts, books, interests, detailed bios, etc… and there will definitely not be a podcast episode if I can’t reach the person via email, contact form, or social media.
The same concept applies to job seekers or anyone interested in expanding their professional networks. If you want people to reach you, make it easy on them, or they’ll reach out to someone else!
Fill out helpful and detailed bios on sites like GitHub. Link to a web form where someone can reach you if you don’t want to share your email address. List what organization(s) you are part of, and what you’re working on!
Create an Overview Profile Readme
Now, to the part that most of you were probably here for…creating an overview profile readme!
An overview readme is a great final touch to add to your GitHub profile. This is a step that most people don’t take, so it can give you that extra professional edge which can help you stand out from the crowd.
The best part? You can do this in literally just a few minutes.
Let’s get started.
Step #1: Create a new repo:

Click on your “Repositories” tab at the top, and you’ll see a “New” button on the right.
Name this repo the same as your “Owner” name (typically your real name, unless you picked something different).

Once you do that, you’ll see this pop-down from GitHub saying that you’ve found a secret.
Now, the only thing left to do is to initialize a readme. Check that box at the bottom of the page, and click on “Create repository.”

It will show you your new repo, and on the right side you will see an “Edit README” button. Click on it.

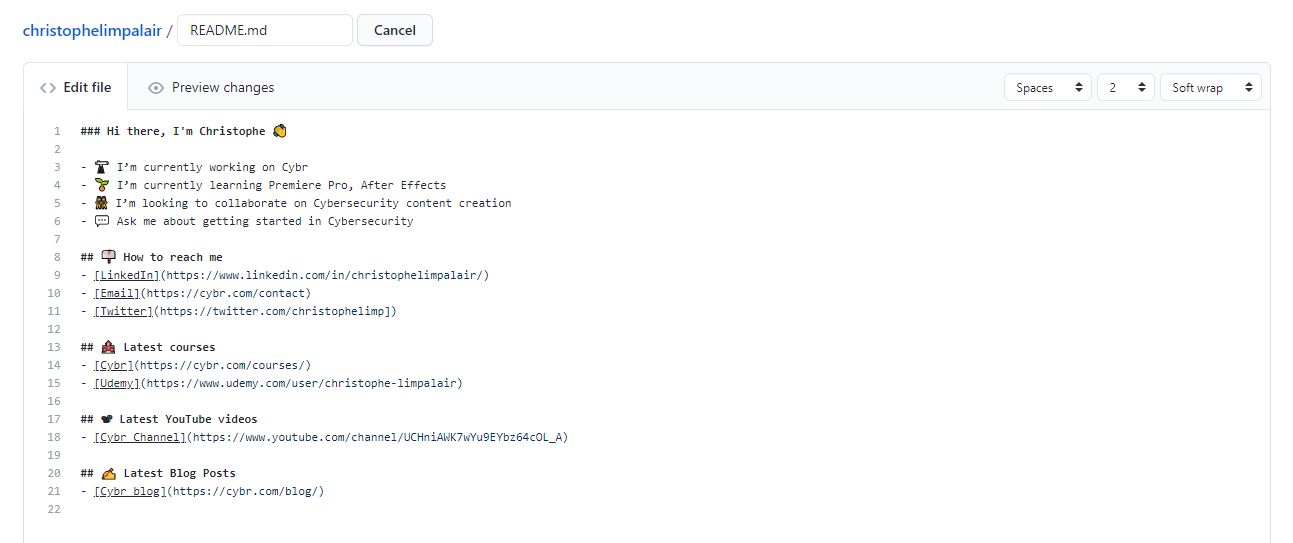
It will look a little something like this:

This is the part that we can edit to change the appearance of our home page. It uses Markdown, so you can get as creative as you want! Make it your own!
Here’s what mine looks like in order to create the example I share above:
Tip: if you’re on Windows, type Alt + ; in order to bring up the emoji menu. On MacOS I believe it’s Alt + Option + Space. With the menu open, you can type words to filter icons.
Commit your changes, et voila!
Now…
As an added bonus, especially if you blog or post videos regularly, feel free to try adding automated feeds with the help of this tutorial!
I hope this gave you guidance on how to make your GitHub more enticing to visitors and that you’re happy with the results after applying what we talked about in this post!
I’d love to see the end result, so feel free to share your GitHub page in the comments below for me and our readers to see! I’ll be happy to provide further tips!


Responses